
This apron tutorial is a quick and easy starter project to introduce you to sewing with laminated cotton fabrics. I used the fun Umbrellas laminated cotton from Cloud 9's latest "Slicker" collection. This project requires no special foot for working with wipe clean fabrics - since most of the sewing is on the binding rather than the laminated fabric. The only time you will need to sew on the actual laminate is for the optional patch pocket at the end. I also made my own ties using Kona cotton, but for an even quicker sew you could opt for herringbone tape.
Want to have a go yourself? Let's get started!
Tips for sewing with laminated cotton:
-
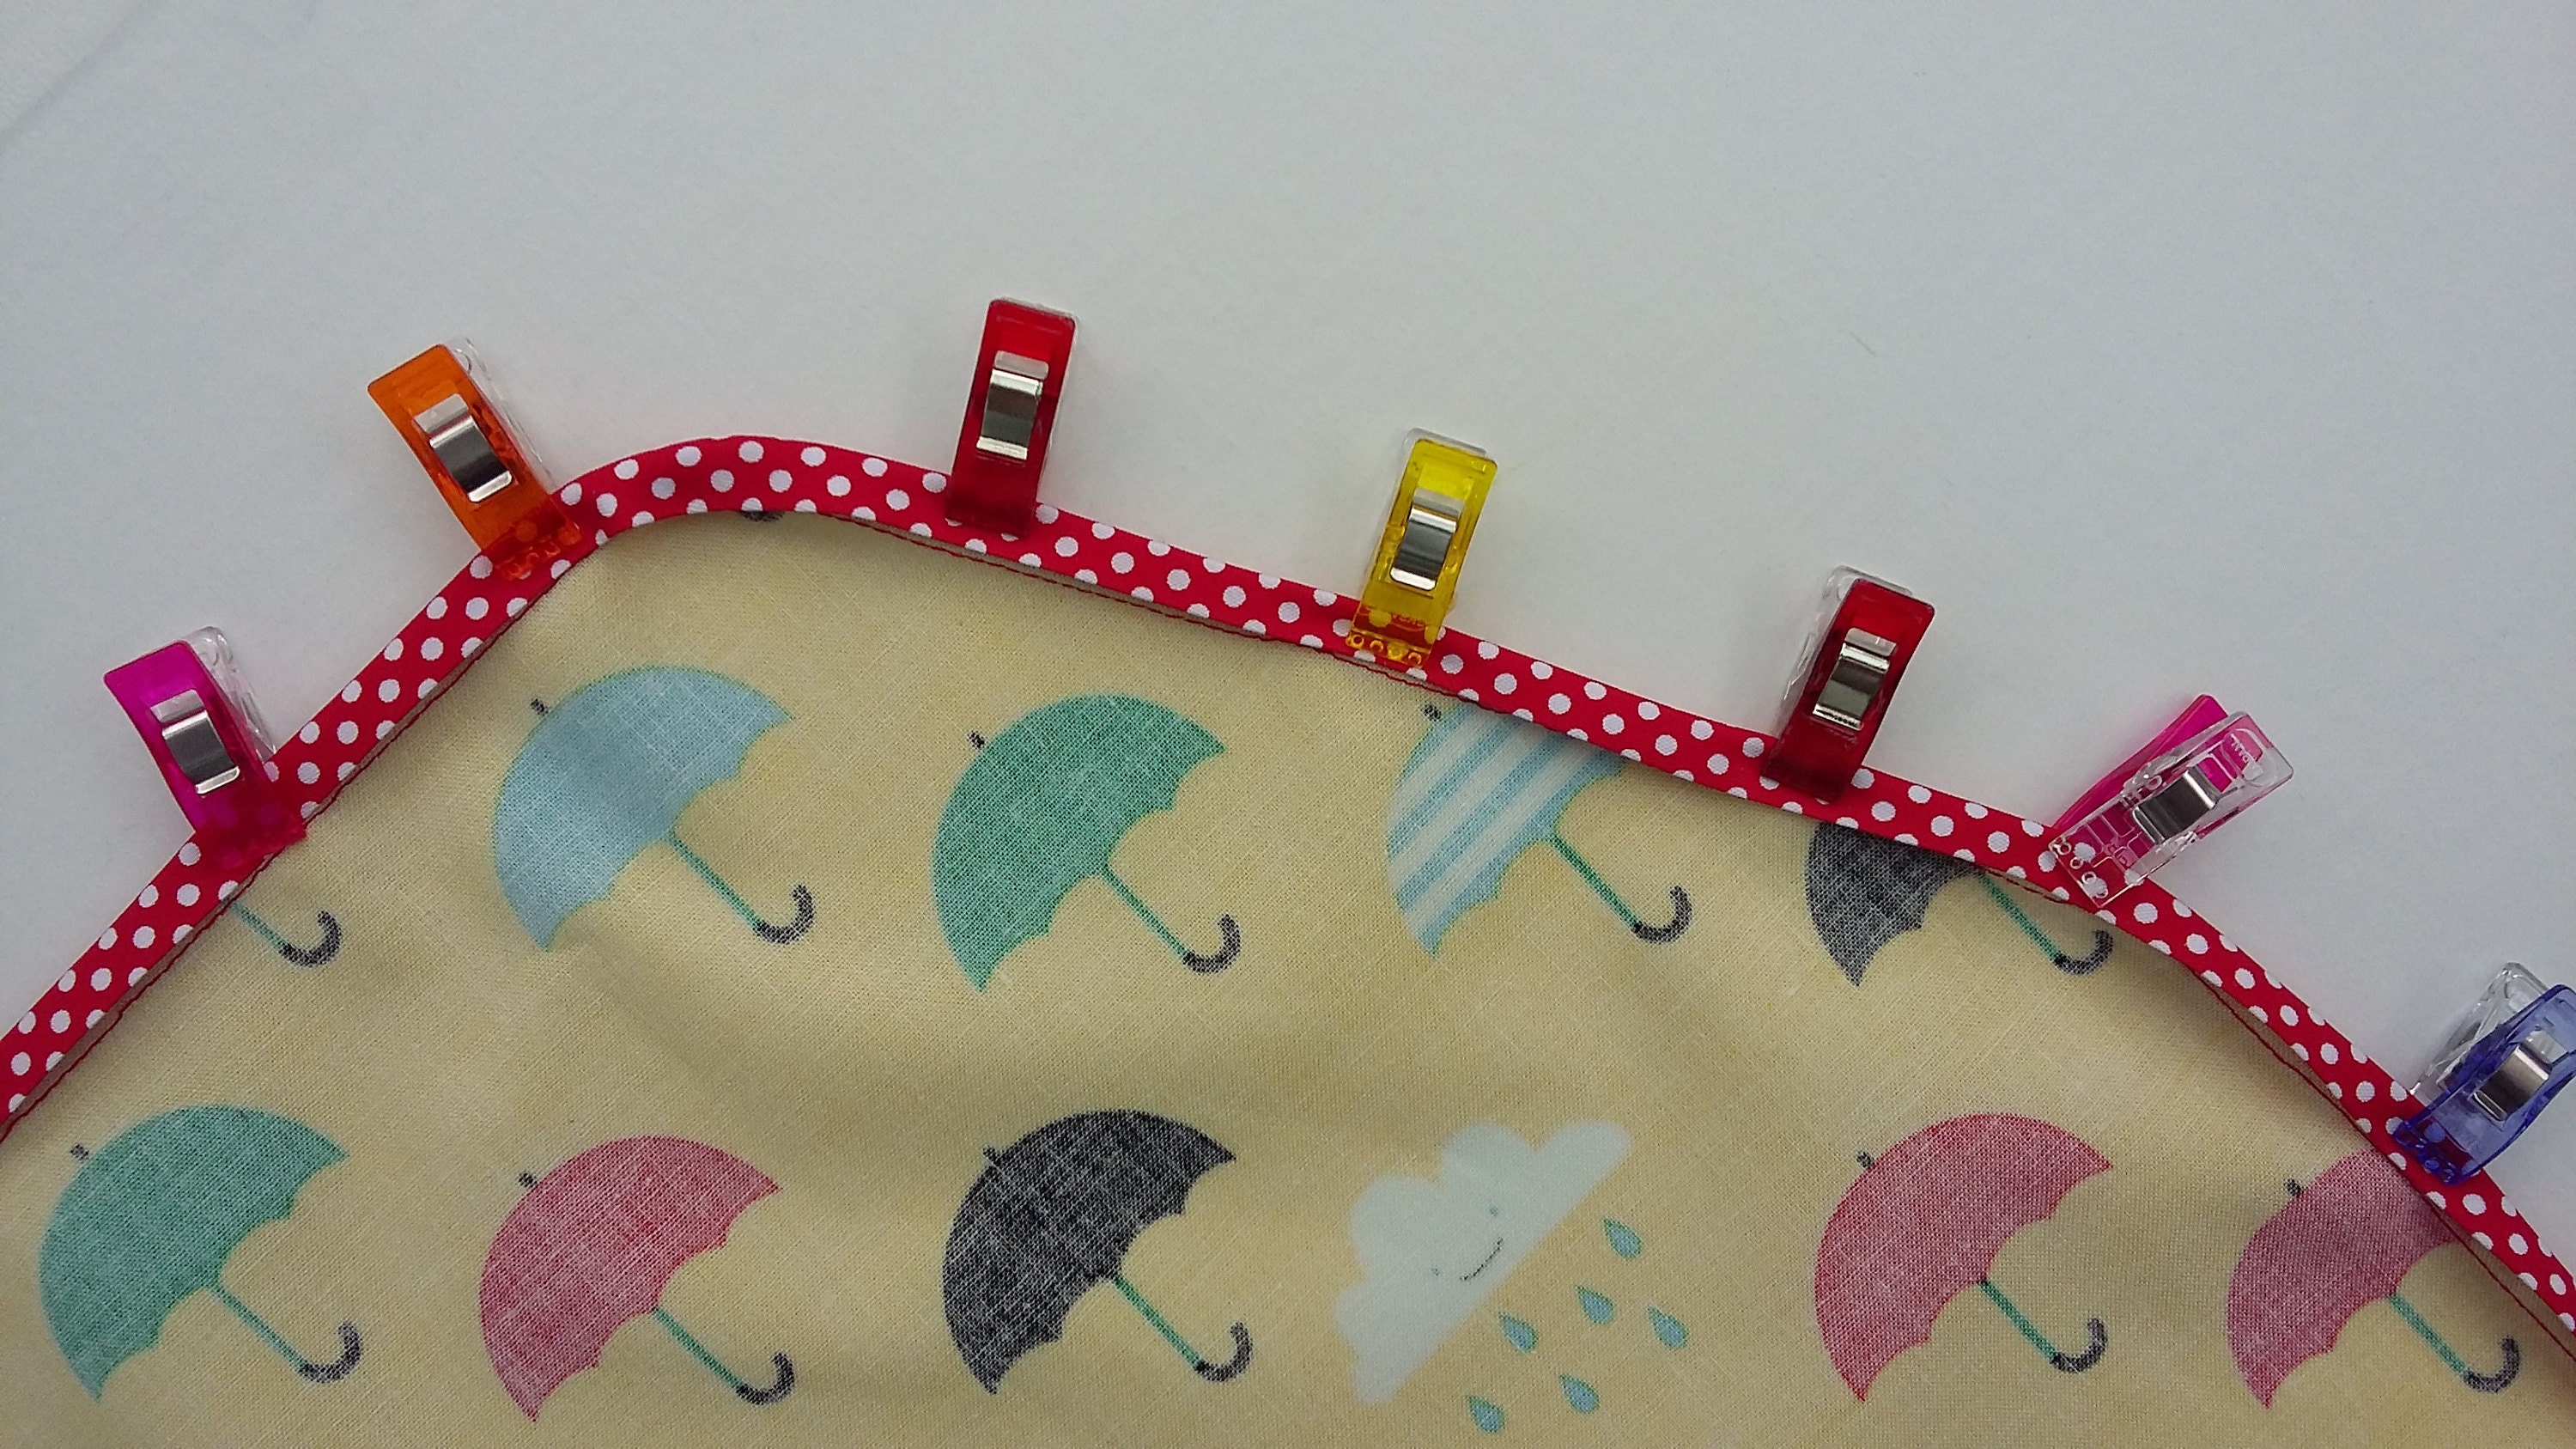
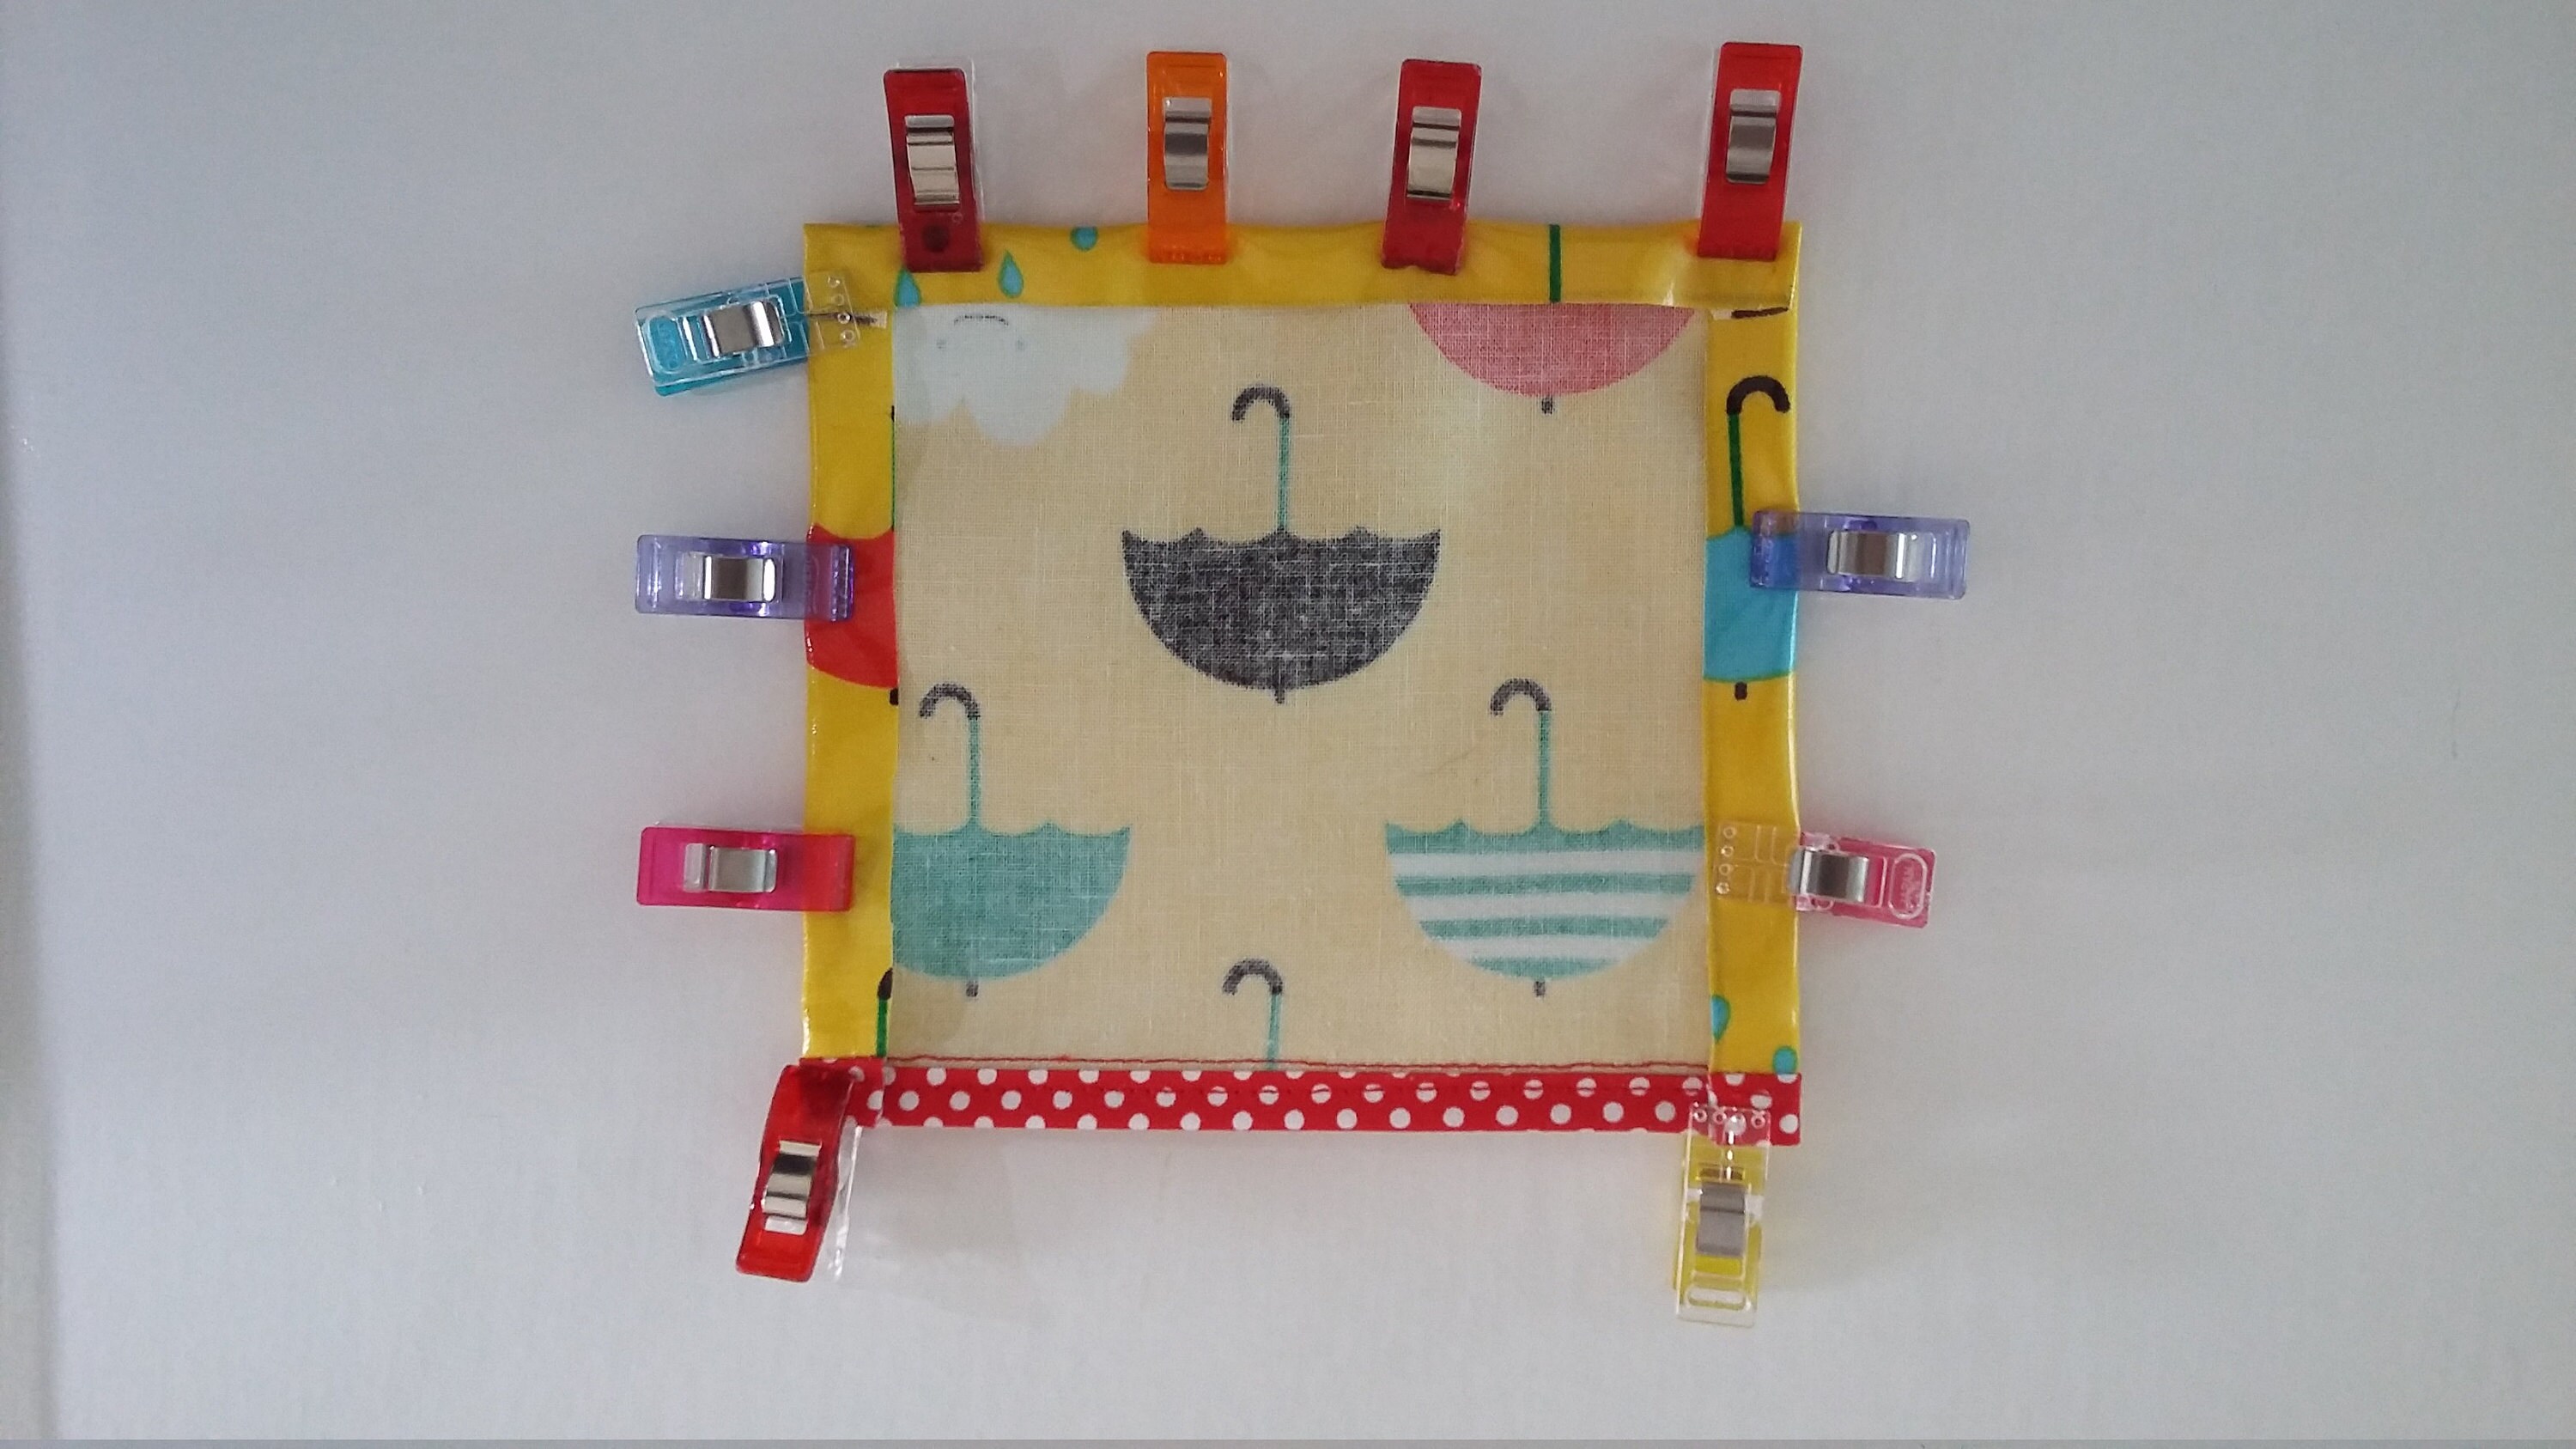
Keep pins to a minimum and in the seams as they will leave holes. You can use Wonder clips or small bulldog clips instead – or even a little sellotape – to hold seams down.
-
Do not iron laminated cotton on the laminate side as it will melt. You can however iron lightly on the back of laminated cotton to remove any creases.
-
A size 14 (or denim) needle is recommended.
Finished size: 16inch w x 20inch h
Seam allowance, unless otherwise stated: ¼ inch
Materials: 1 FQ laminated cotton (we used Cloud 9 umbrellas) 1 FQ coordinating Kona cotton 2m bias binding Basic sewing kit
Cutting instructions:
Apron ties - cut 4 strips of 4 inch x 21 inch cotton fabric
Apron - cut one piece 16 inch w x 20 inch h
Pocket piece (optional) cut after the apron piece – 6 inch x 5 inch
Preparing the pieces:
Apron ties - Fold a 4 inch x 21 inch strip in half lengthwise and press to make a centre crease. Open out, then fold and press each short end by 0.5 inch. Fold each long raw edge in towards the centre crease and press.

Fold again in half and press to make a 1 inch x 20 inch strip with no raw edges showing. Topstitch around all four sides of the apron tie. Repeat with the other three apron tie strips and set aside.
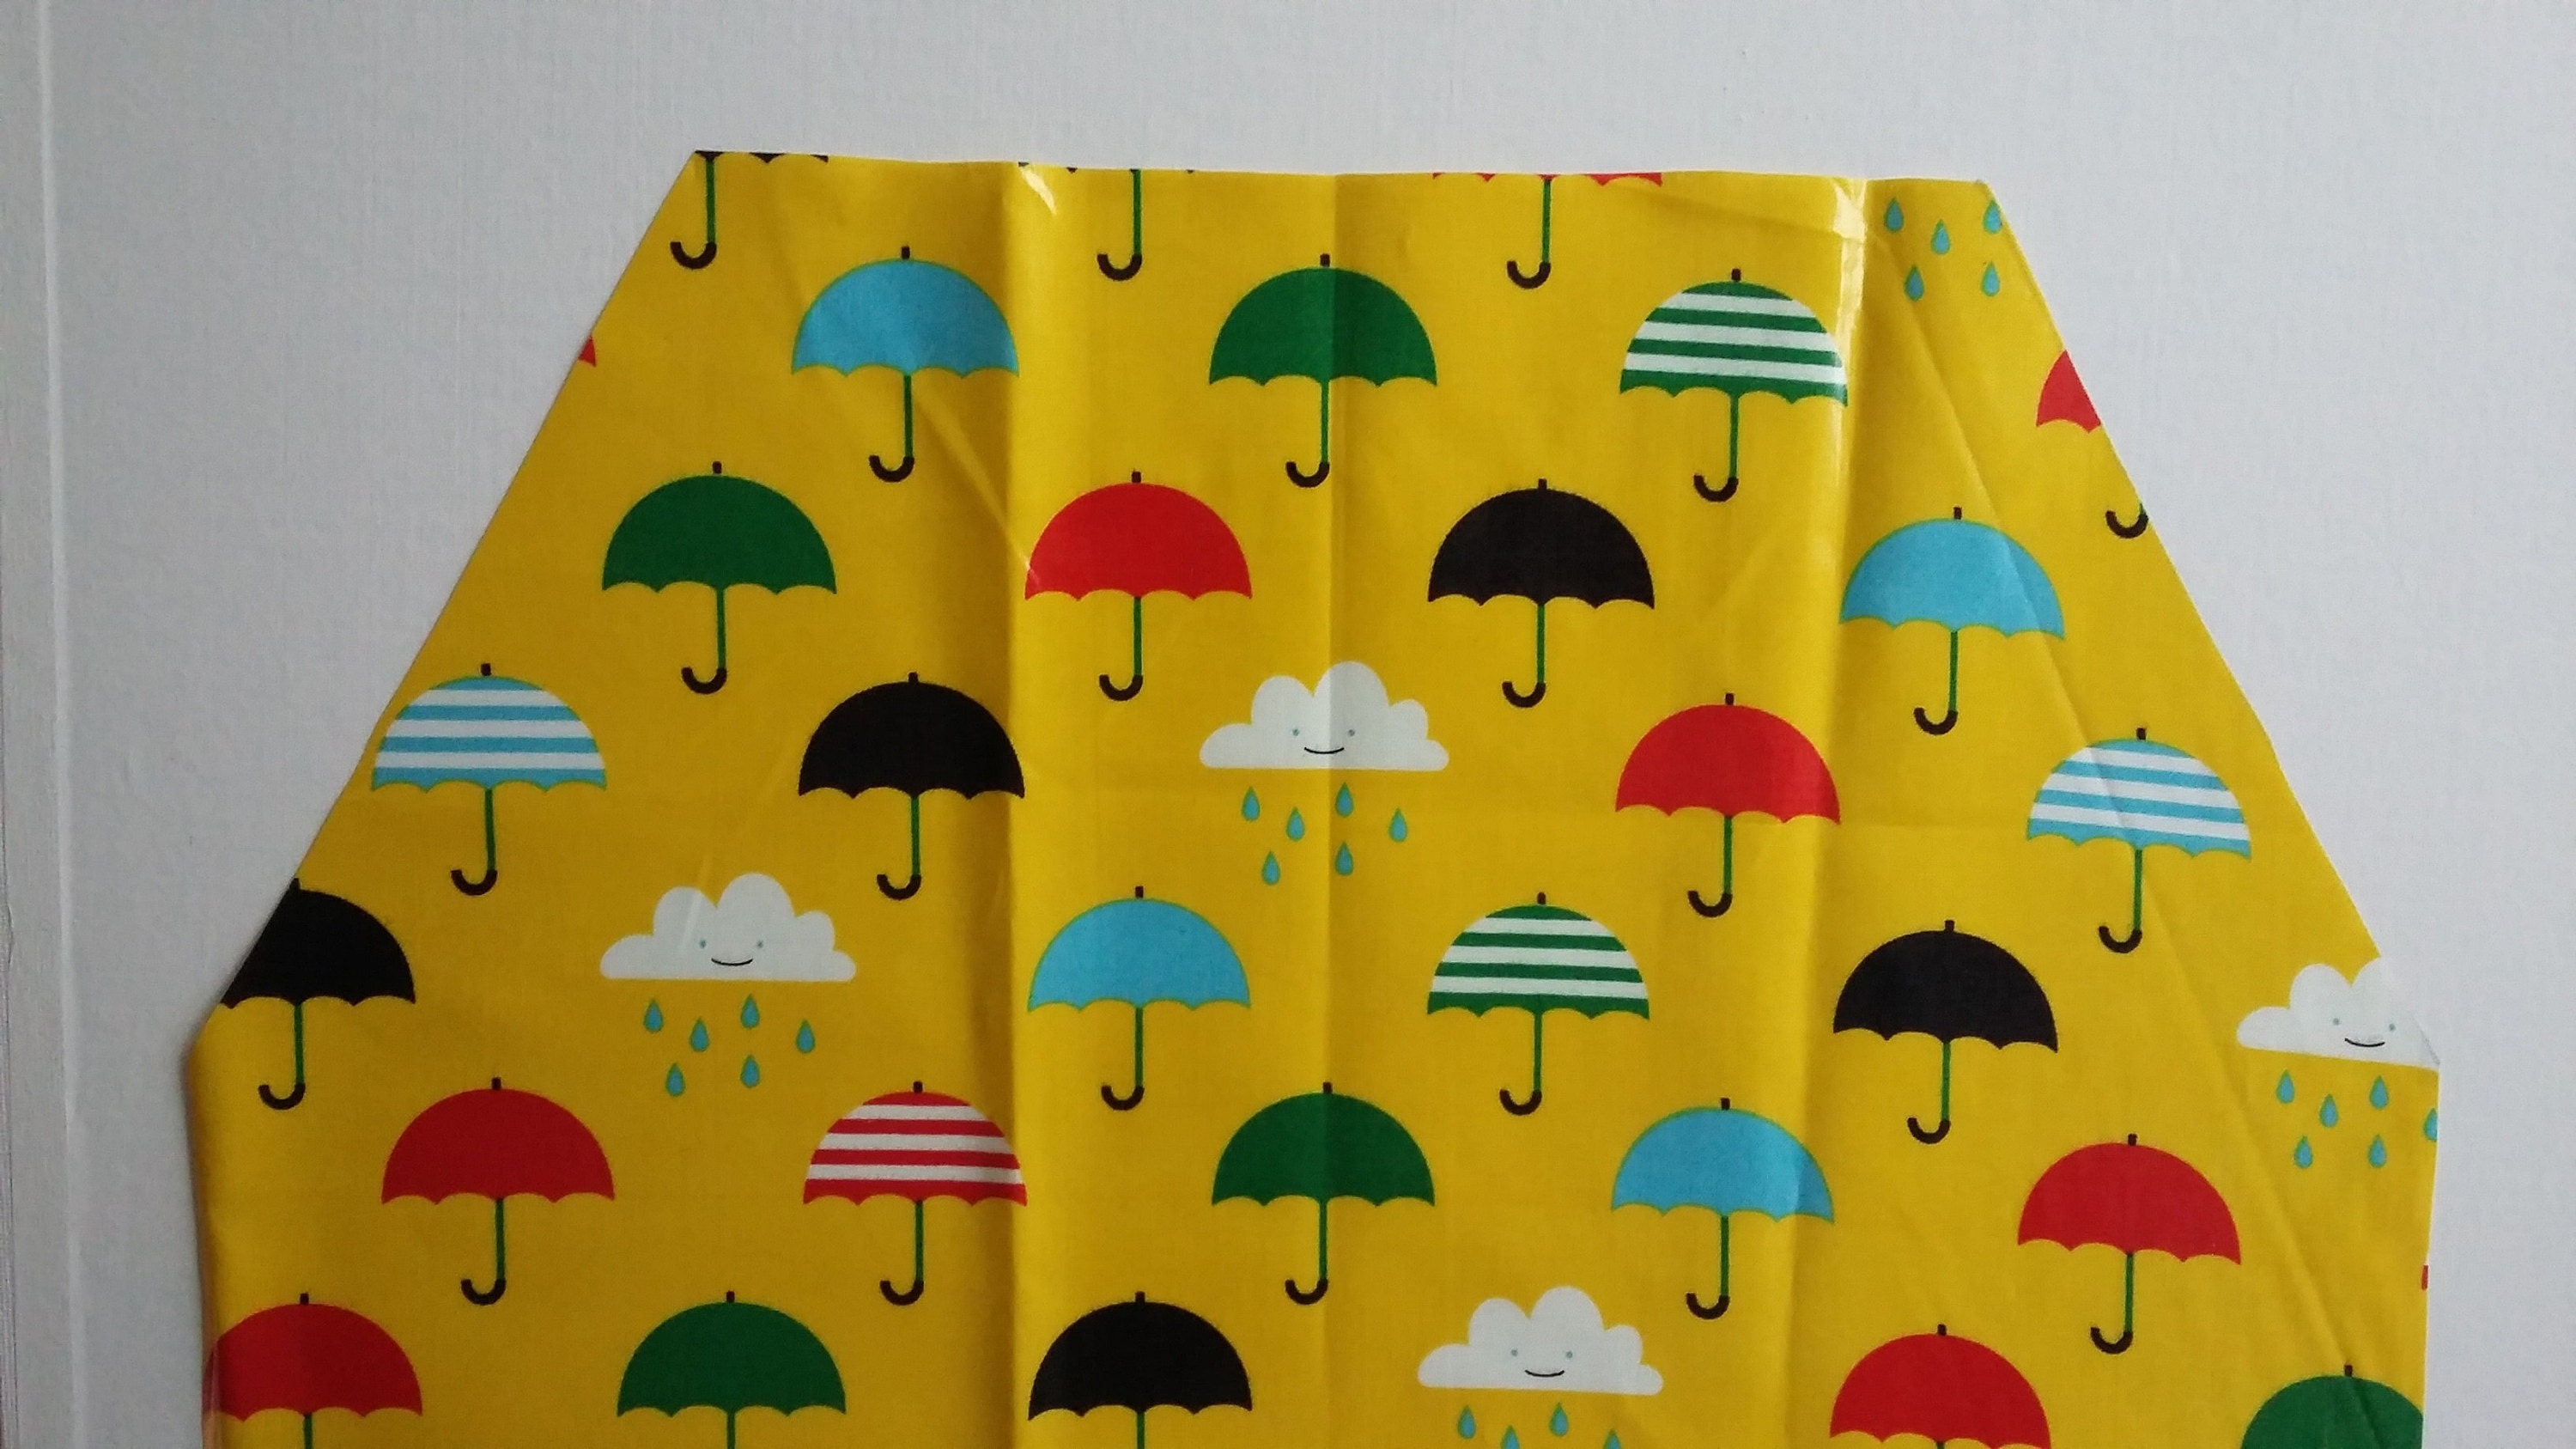
Apron body – Fold your apron body in half RST. Using a pencil or disappearing marker, mark 4.5 inch in from the fold at the top. Make another mark 6.5 inch down from the top unfolded edge. Draw a line to join these two marks (it should be a line of 7.5 inch). Cut along this line. Optional: with the remaining laminated cotton cut a small pocket piece measuring about 6 inch x 5 inch.
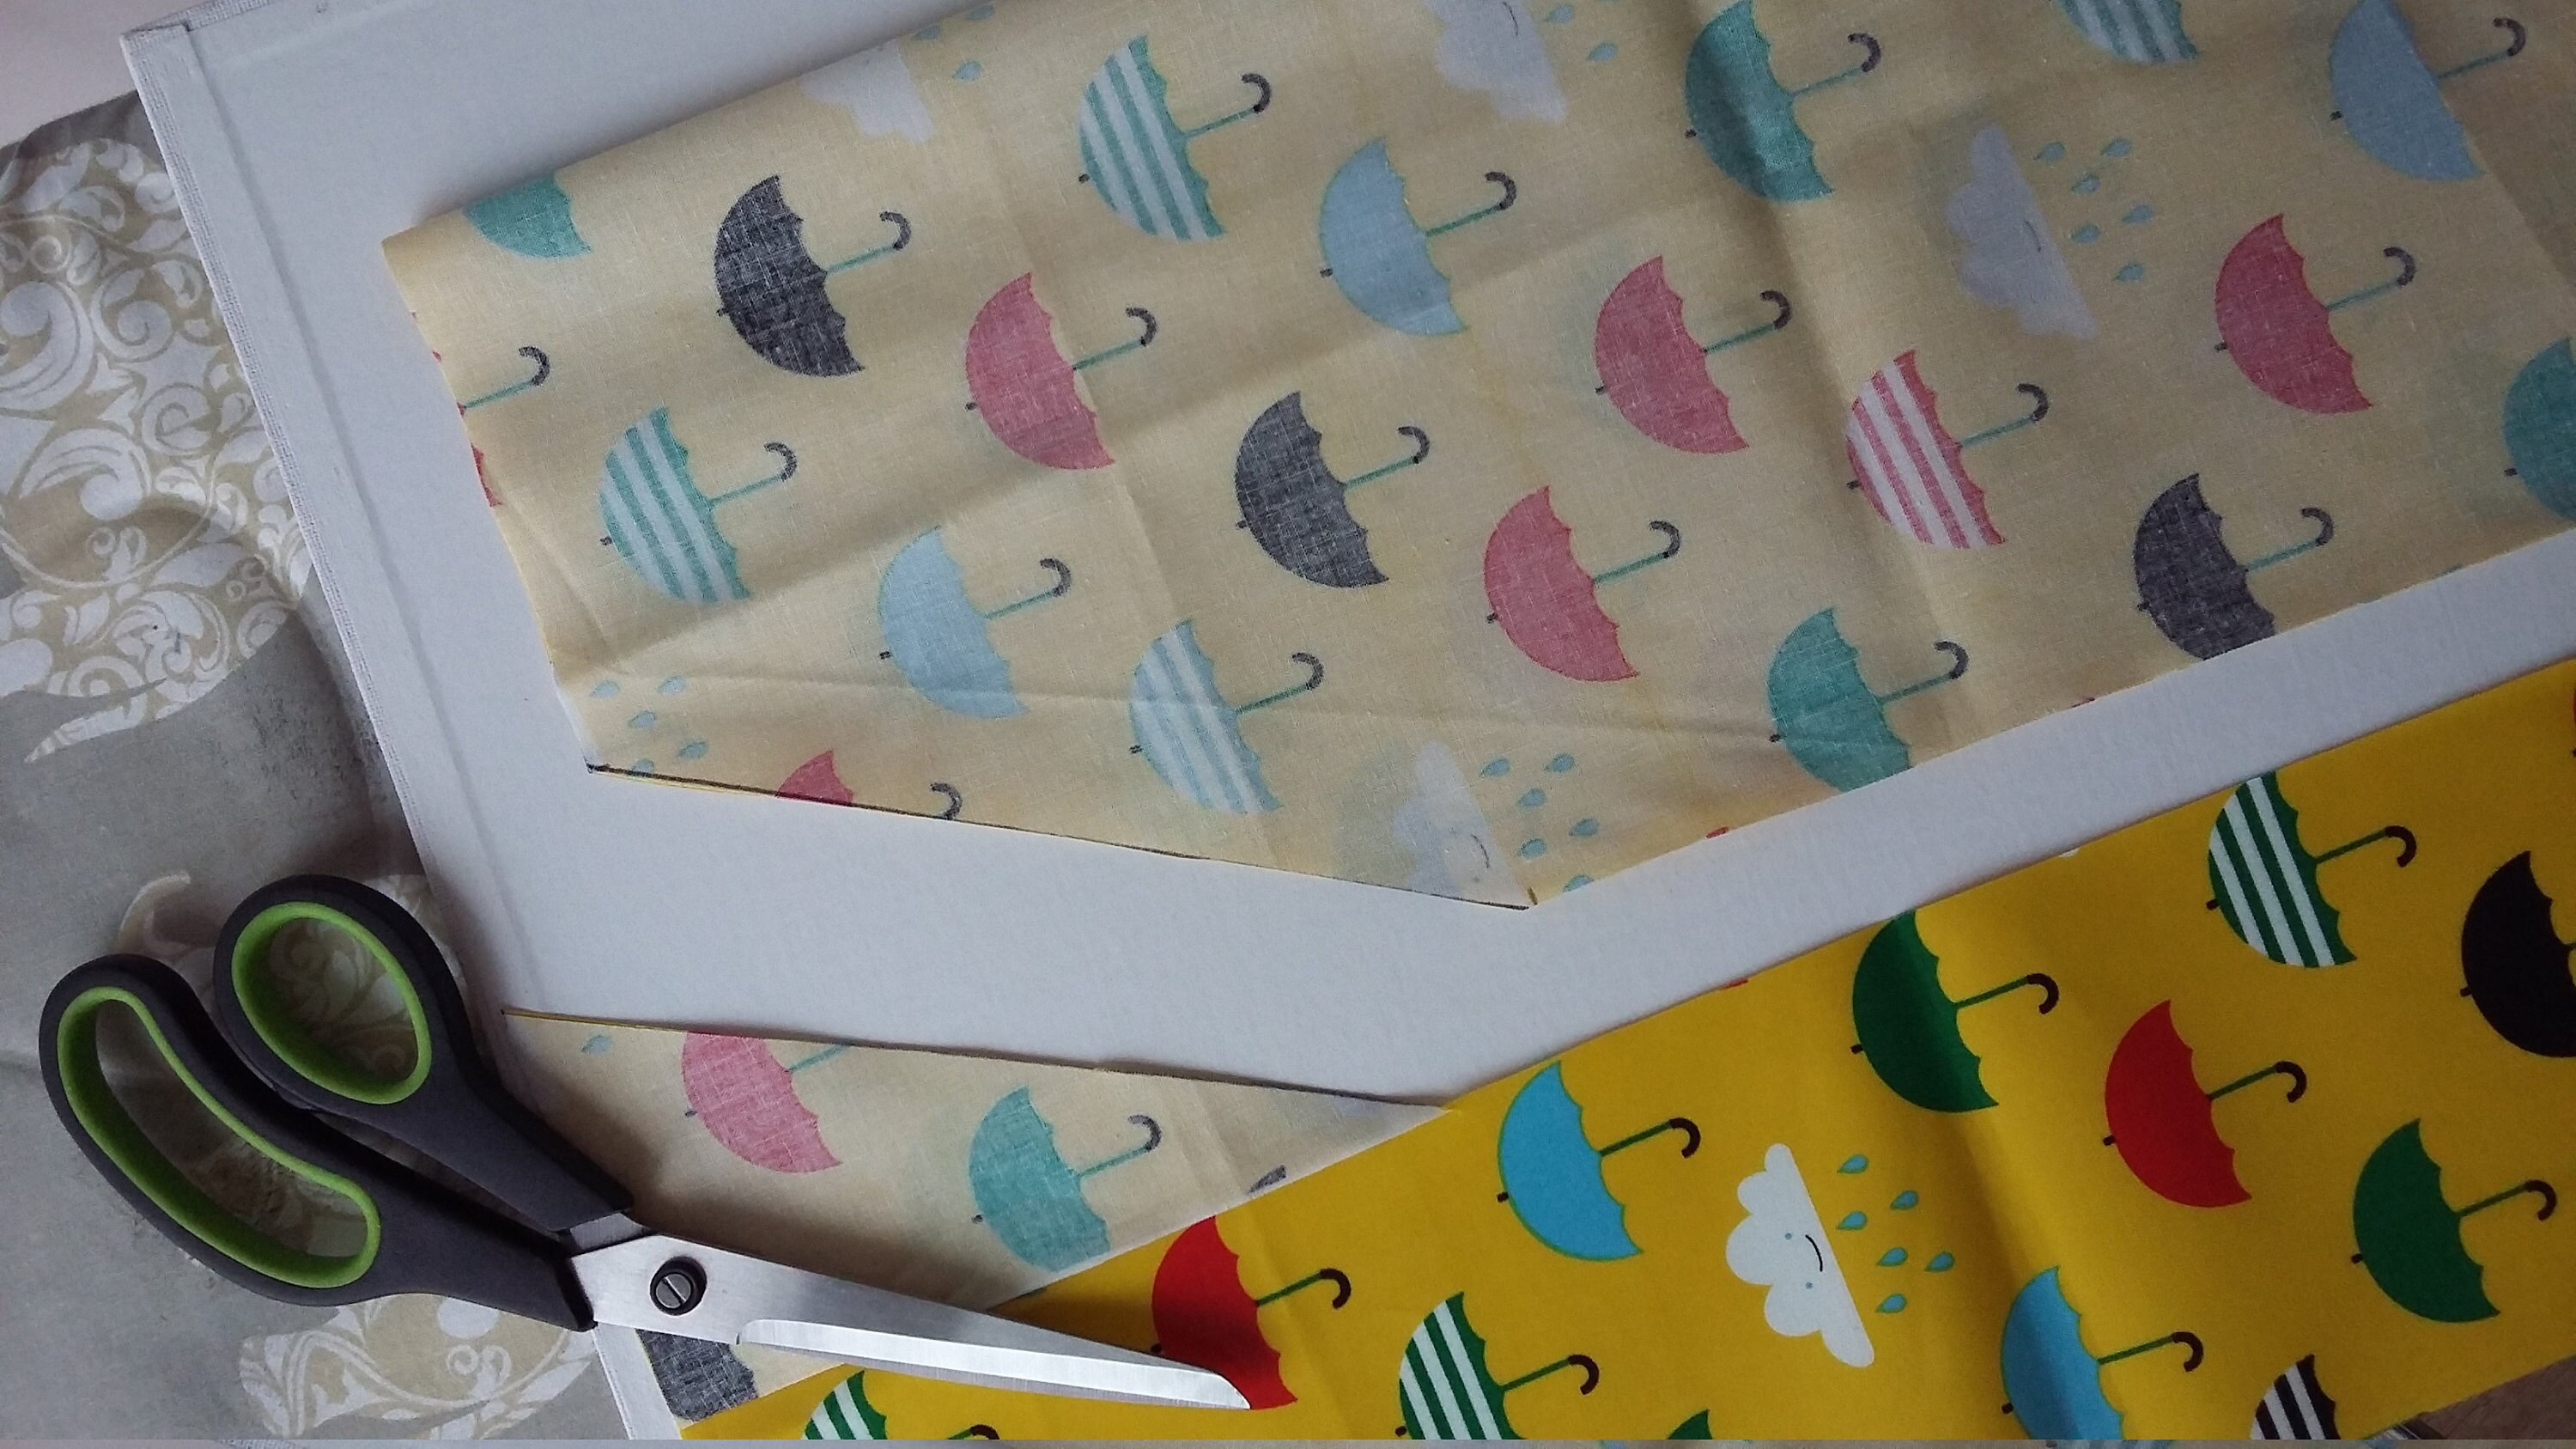
Open up the main apron body piece, which should now look like the below image.
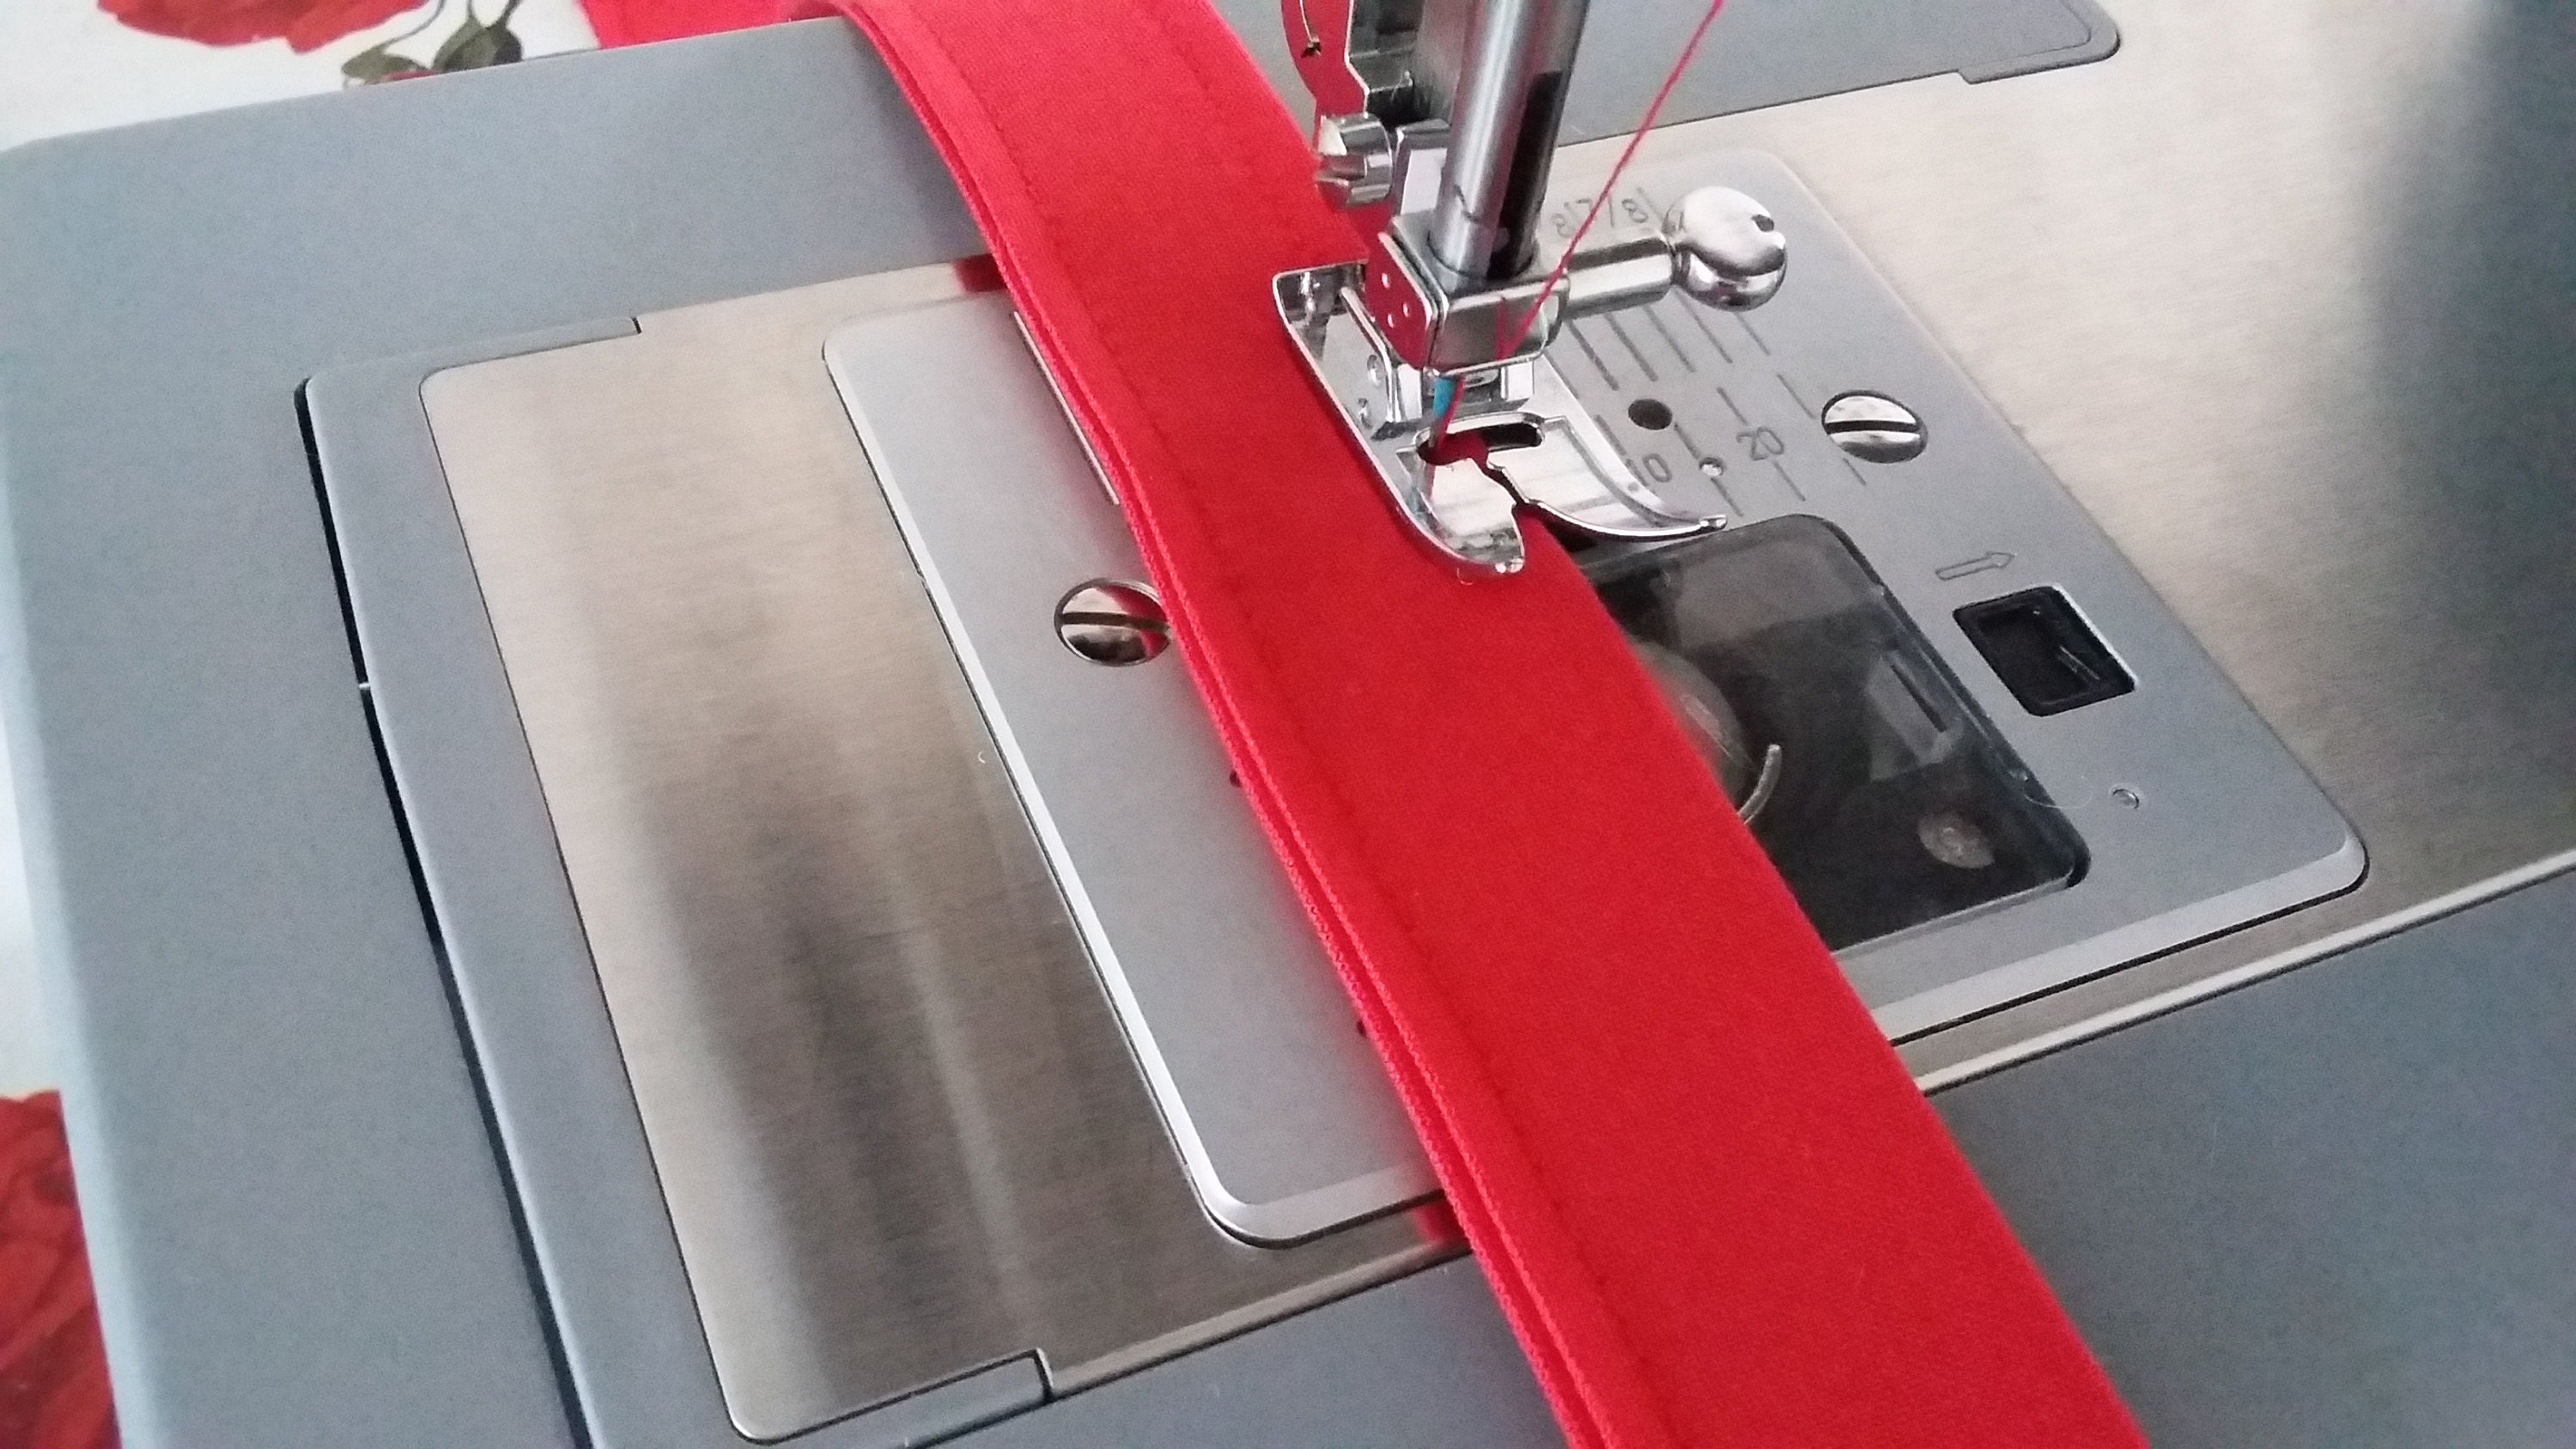
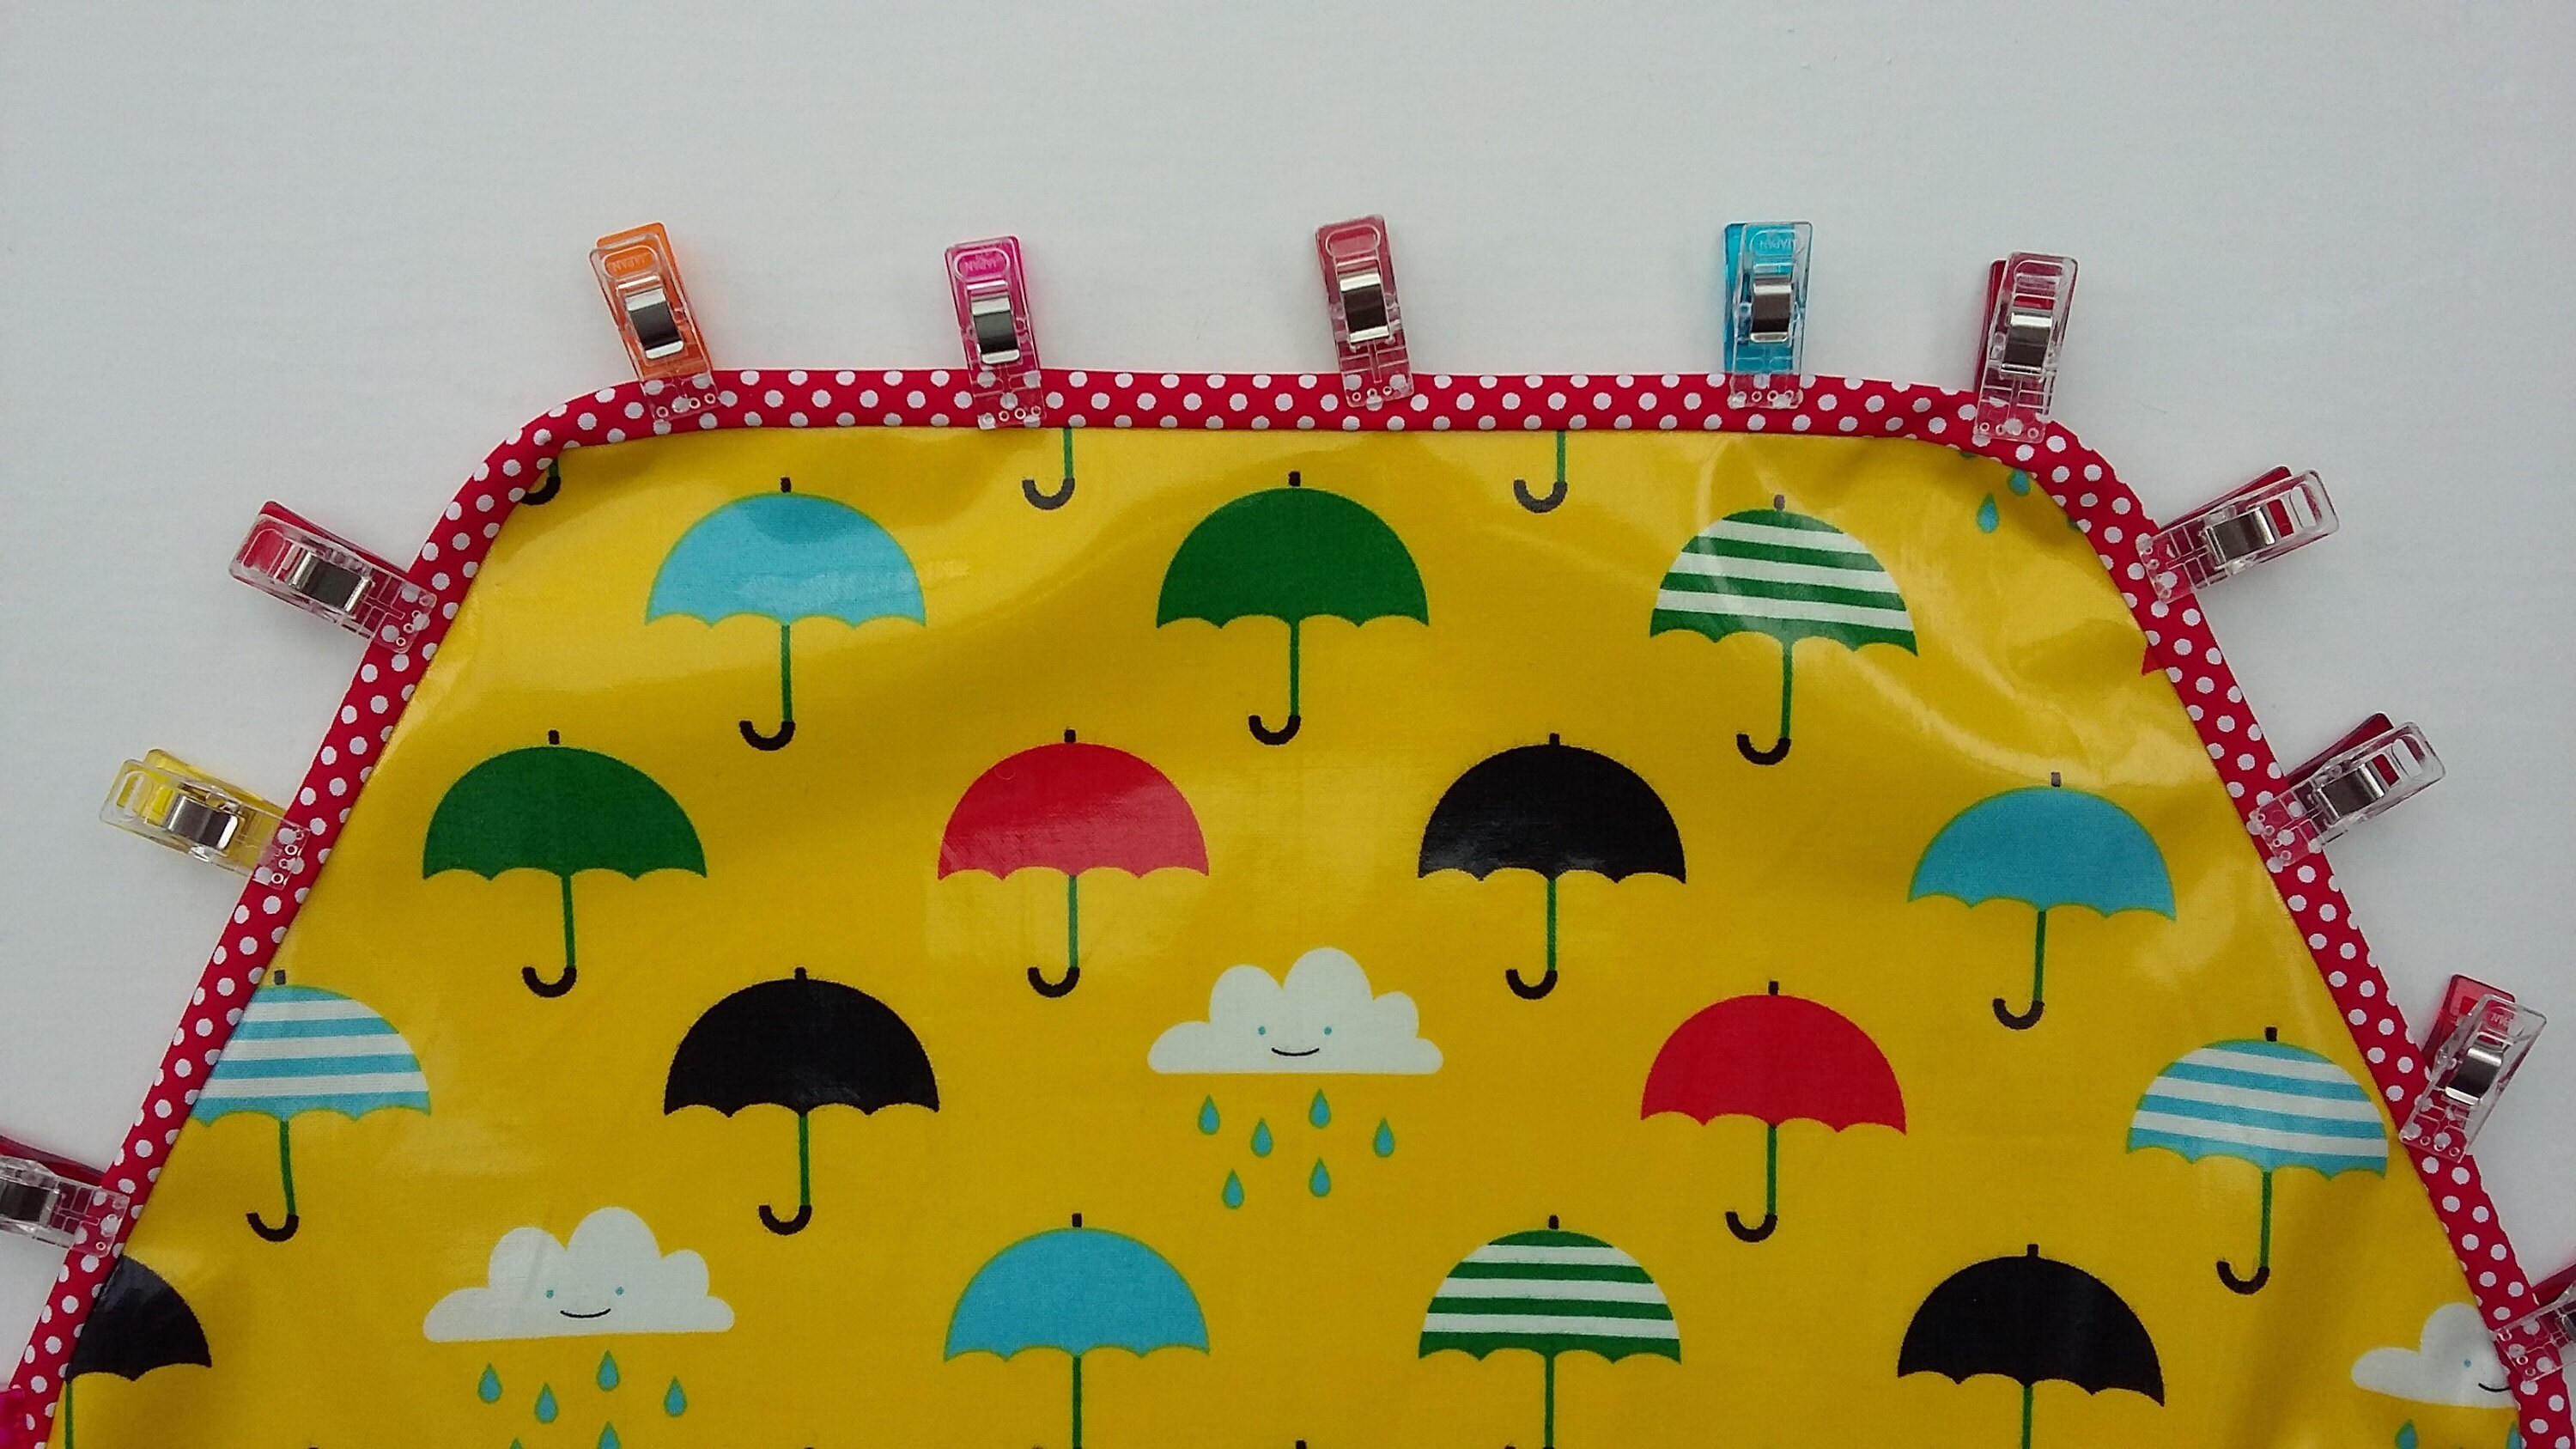
Sew on bias binding – starting from the bottom right corner of the apron piece, open out the readymade bias binding and pin the raw binding edge to the RS of the apron piece as pictured. Leave a 0.25 inch tail of bias binding to fold in later. Sew along the first crease of the binding at 0.25 inch, stopping 0.25 inch before the end. Cut the thread only (not the binding!).
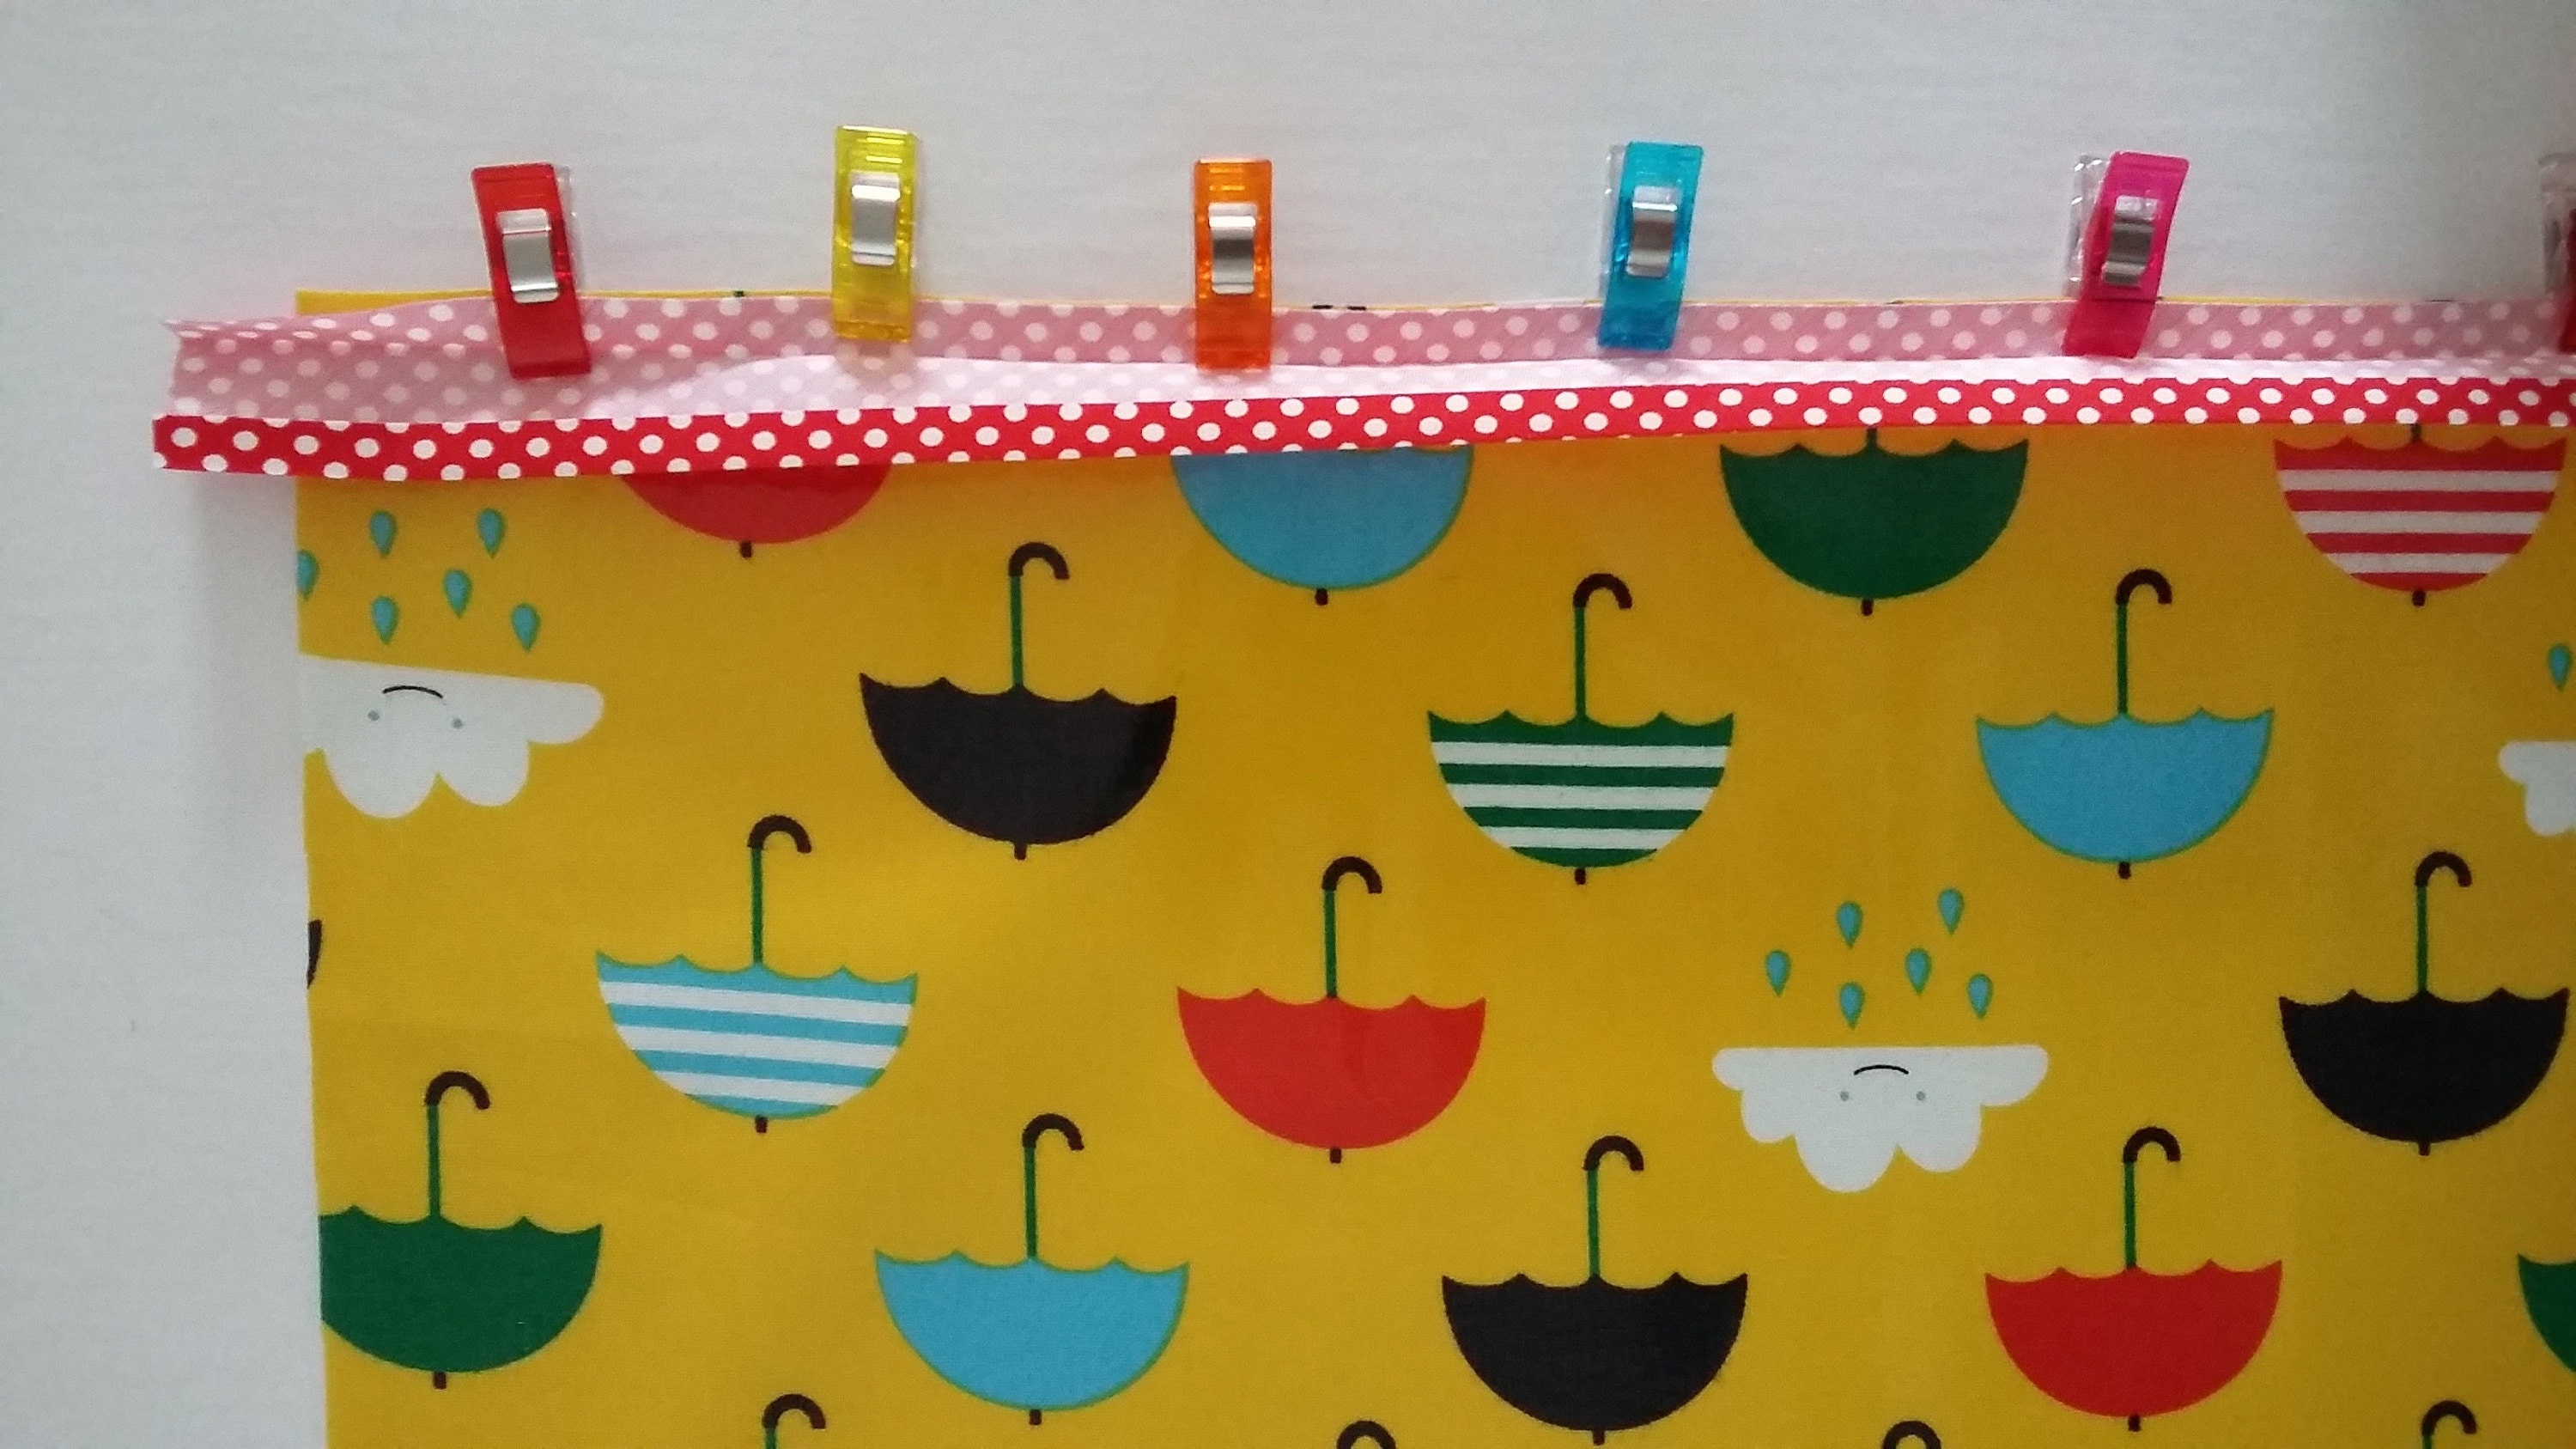
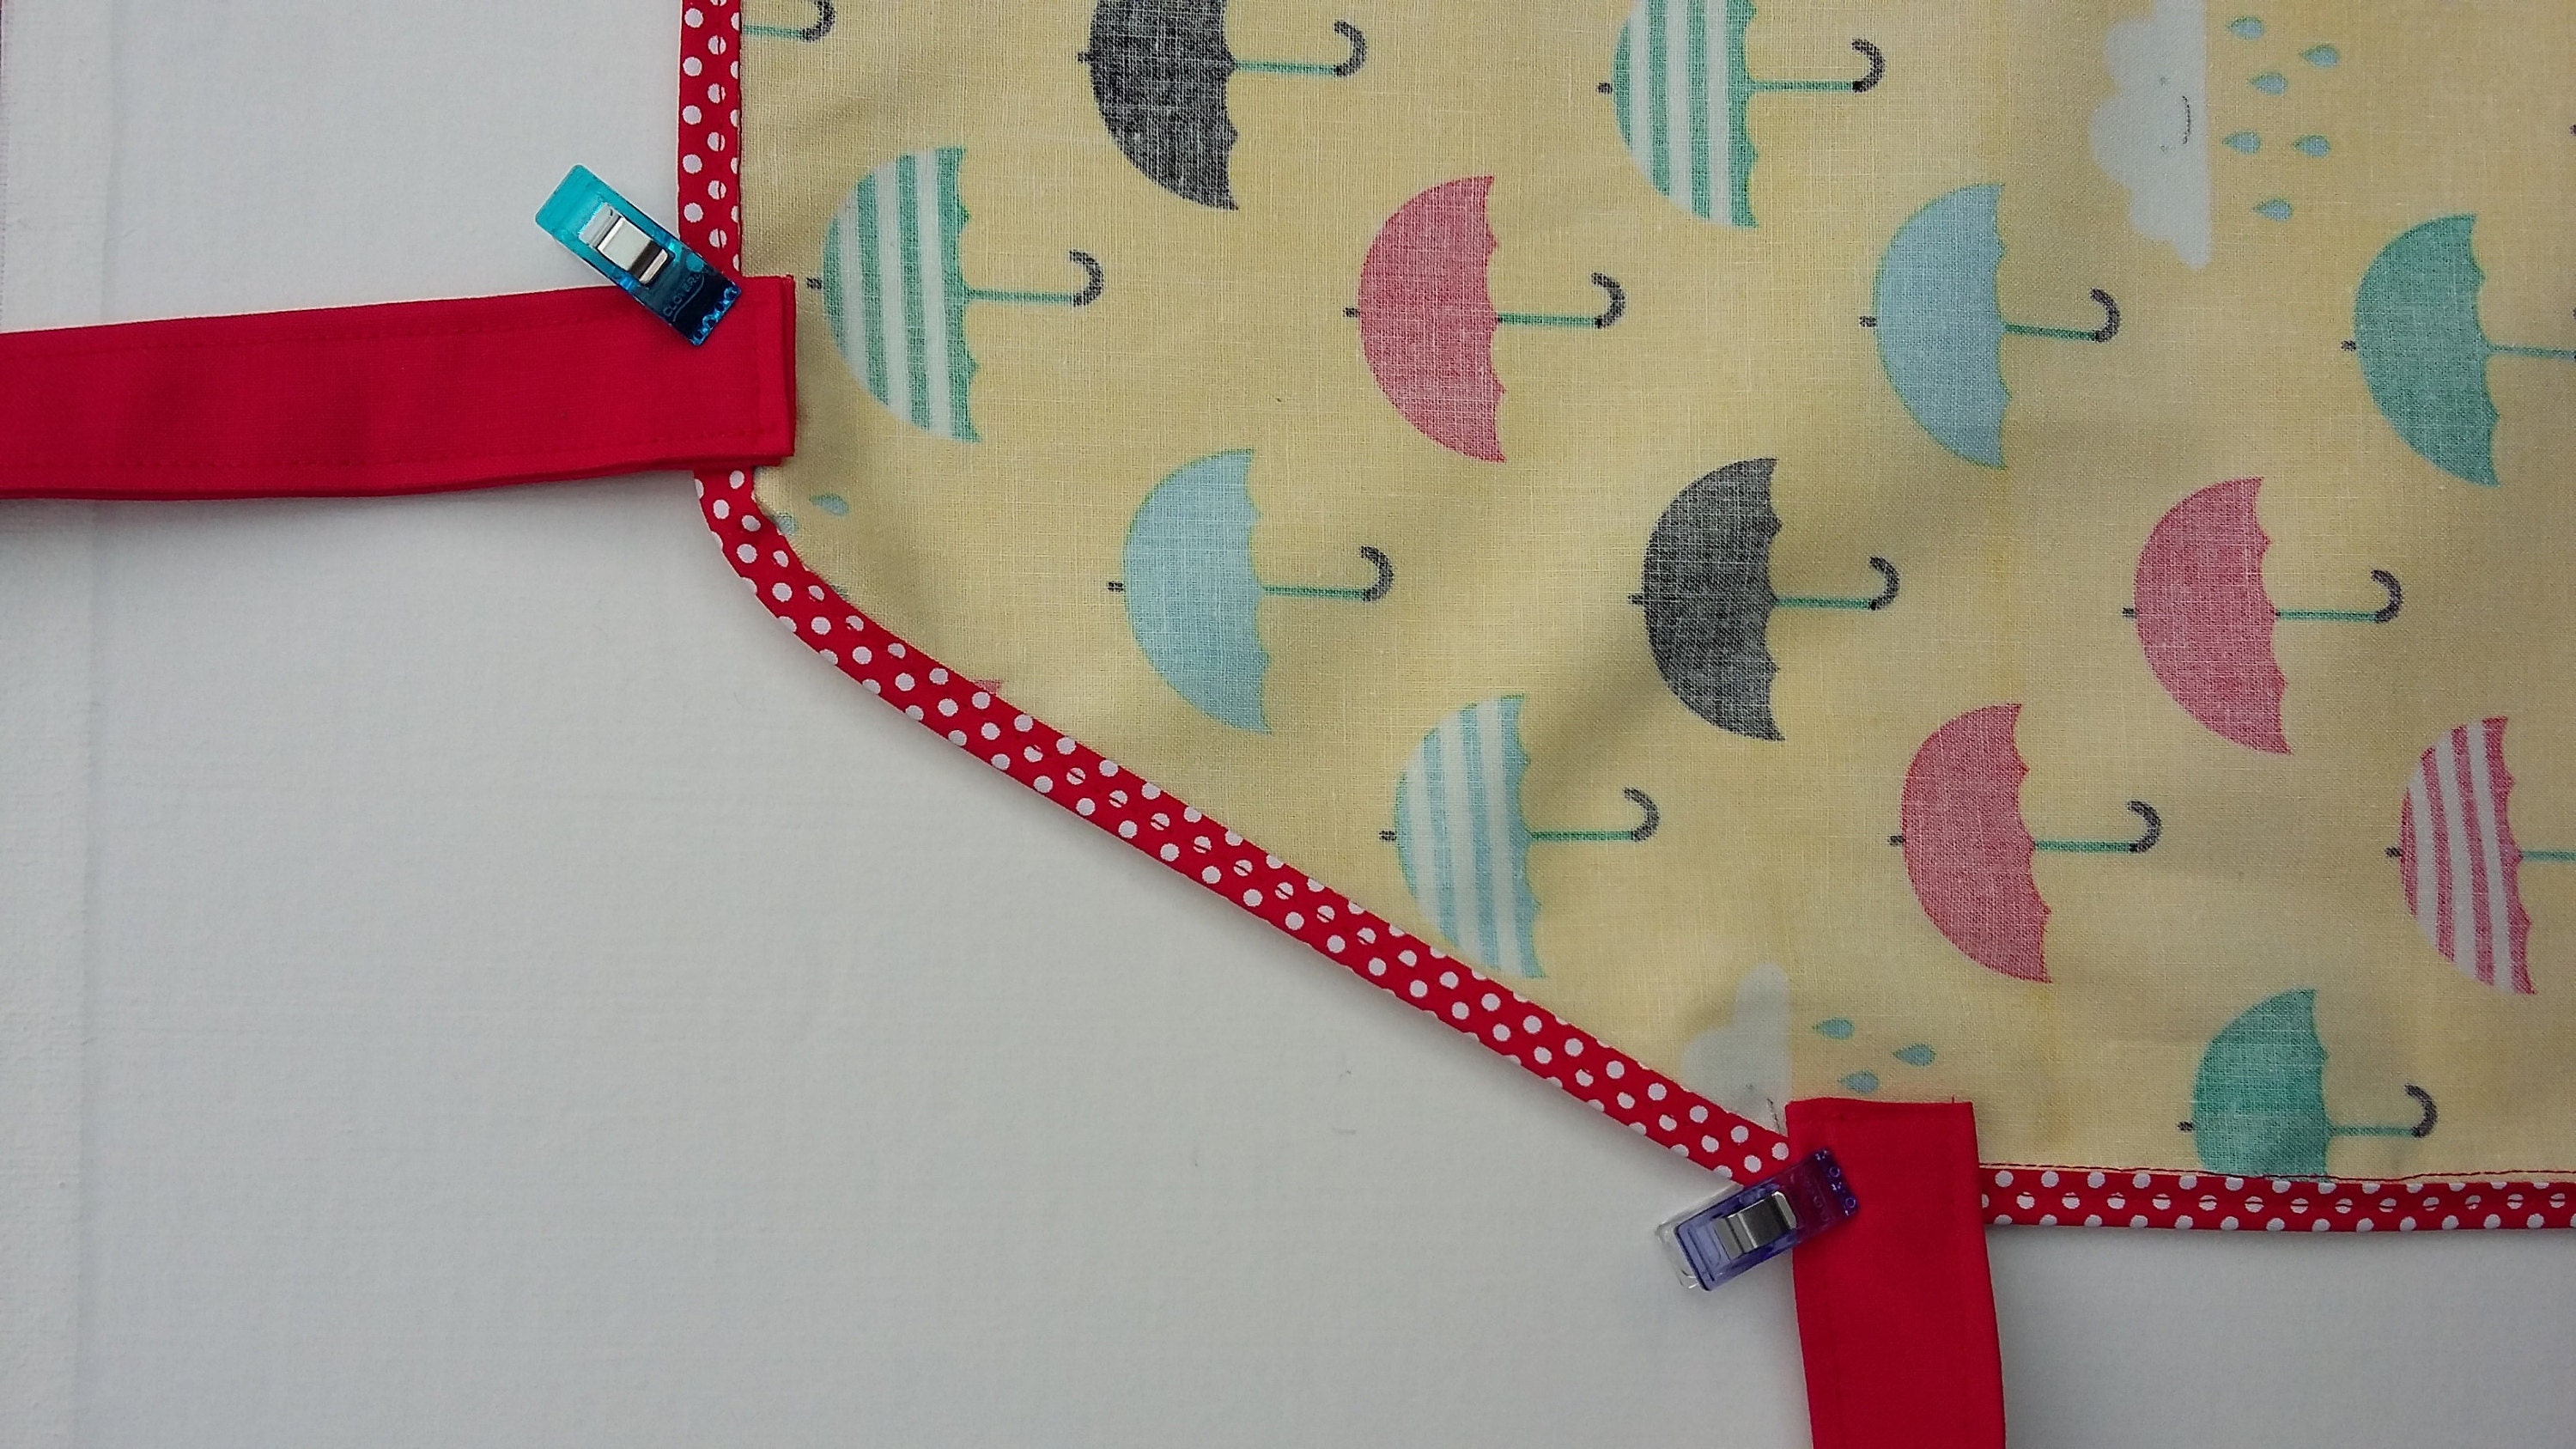
Pin the binding to the long side of the apron and continue, stopping at each corner as before until you reach where you started, leaving another 0.25 inch tail to overlap at the end.
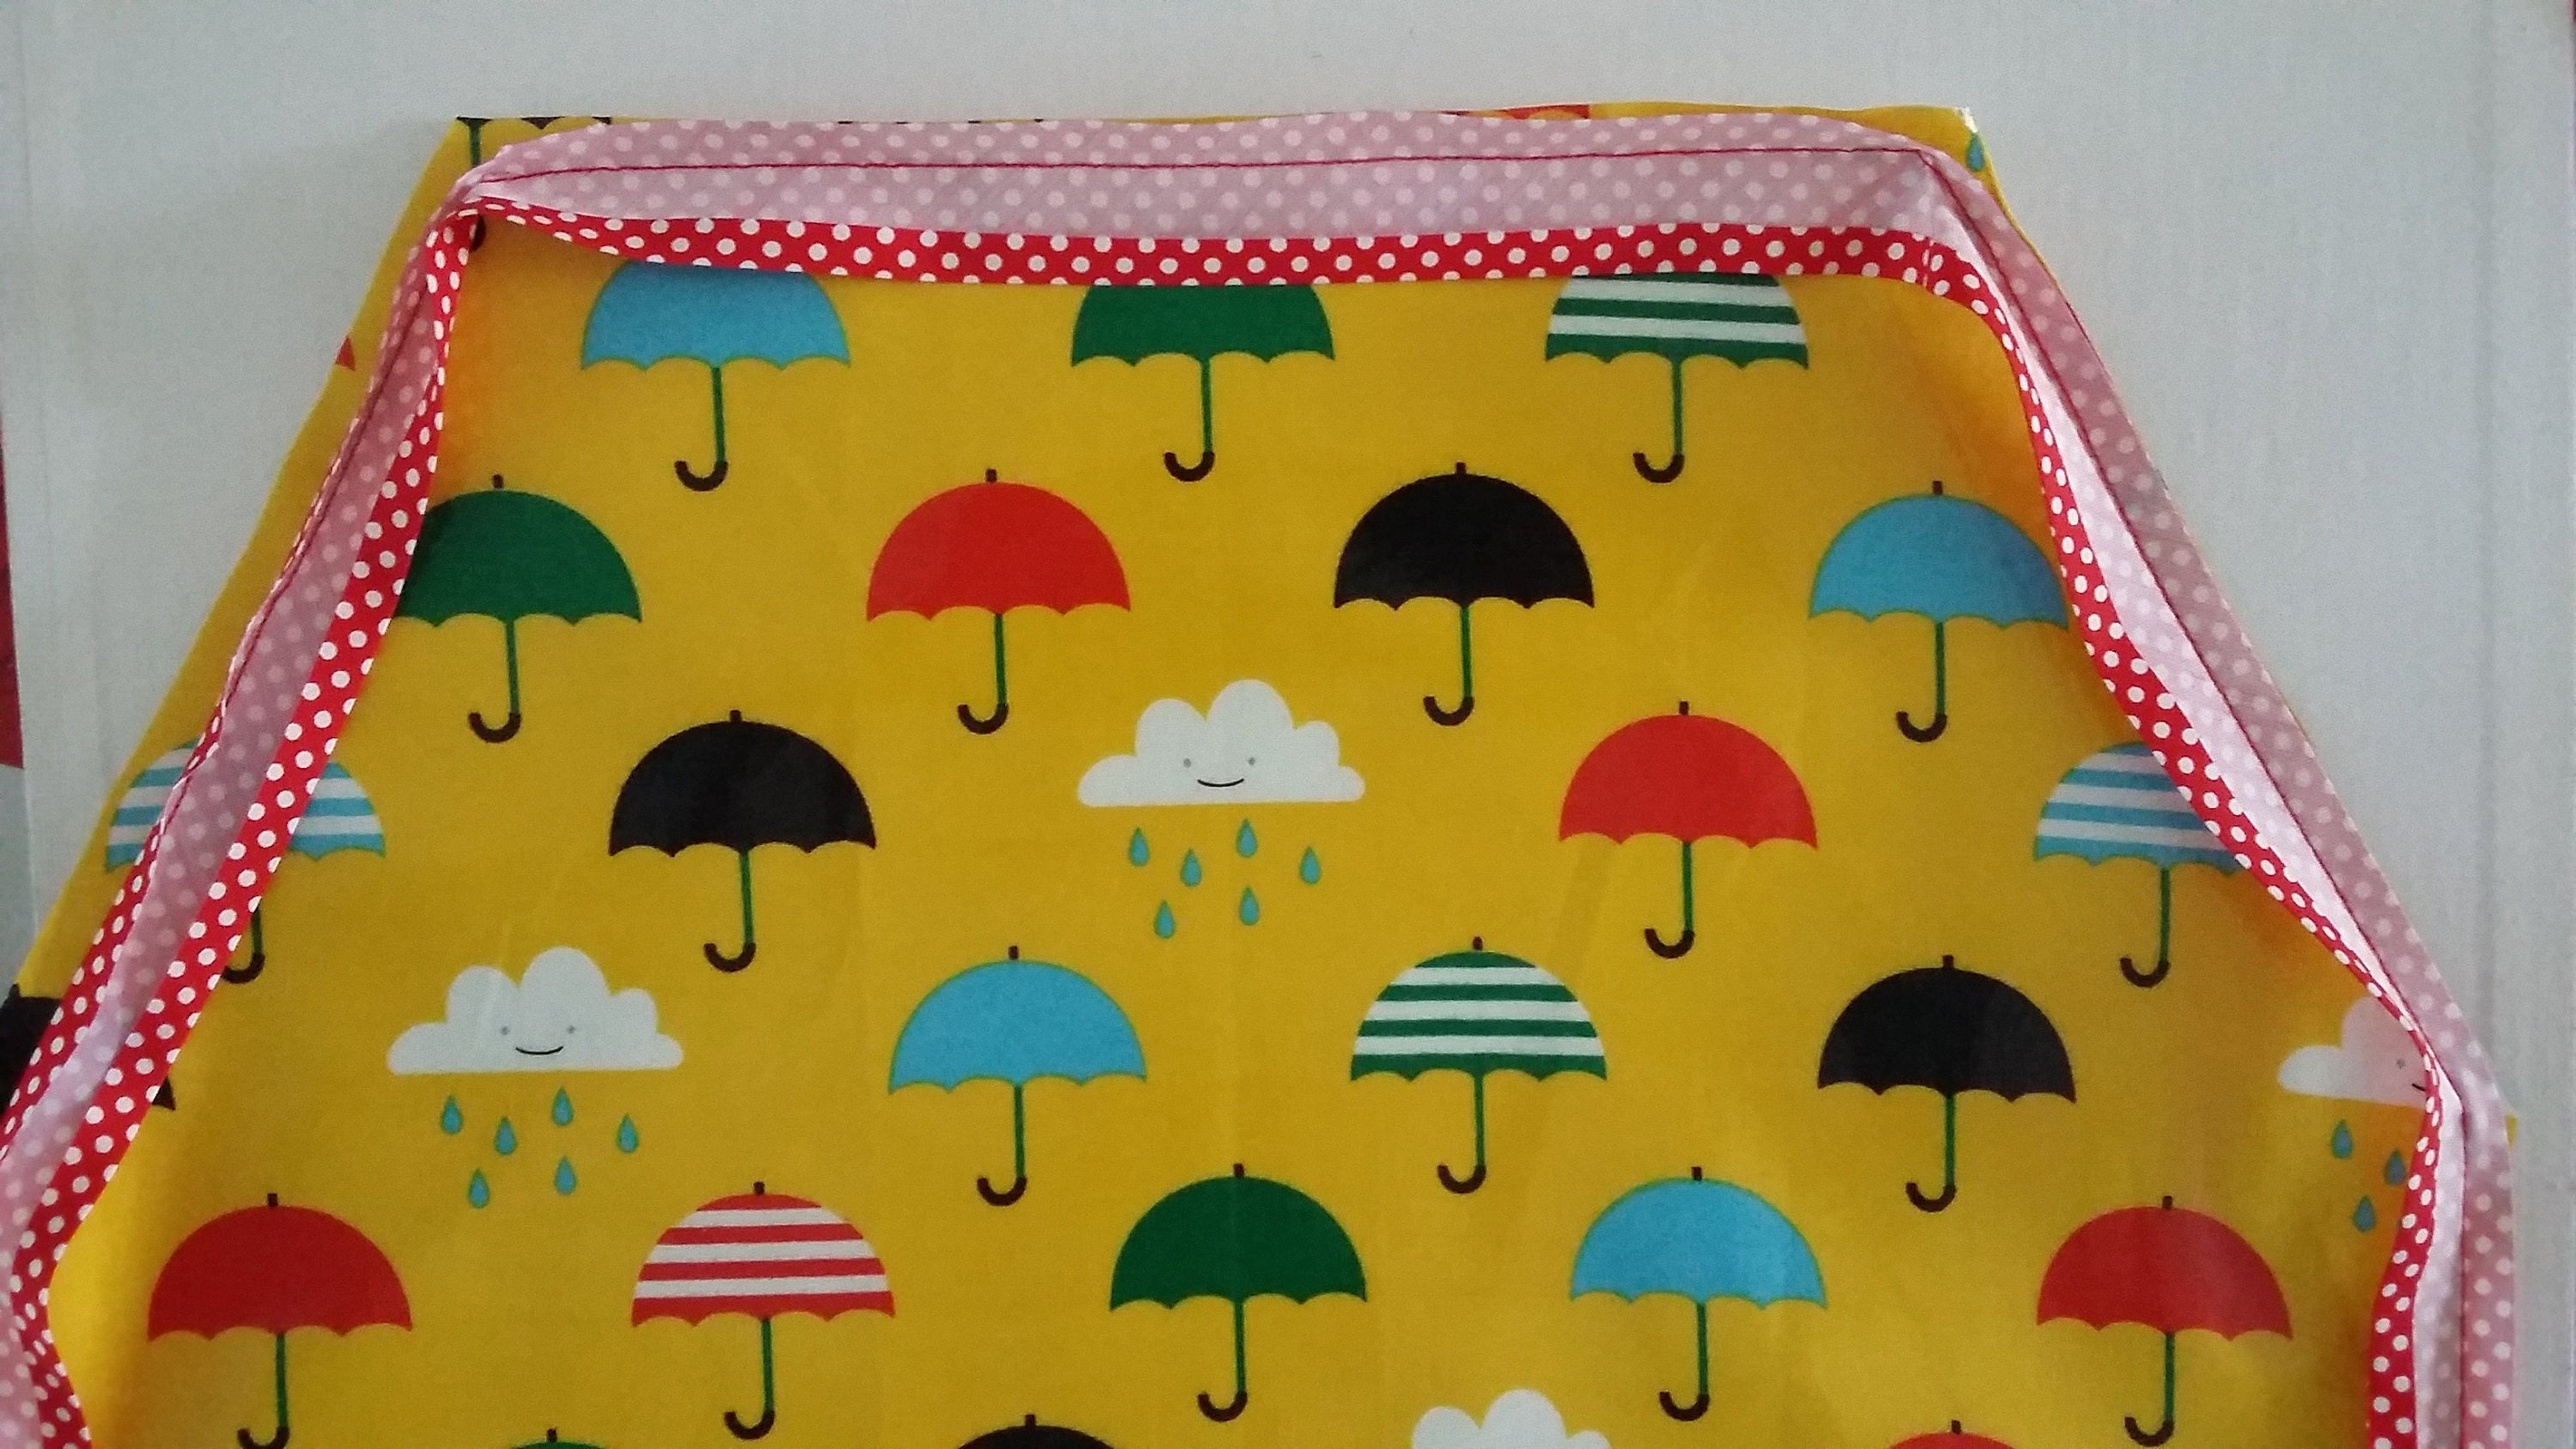
Your binding will look like this, stopping 0.25" before each corner.
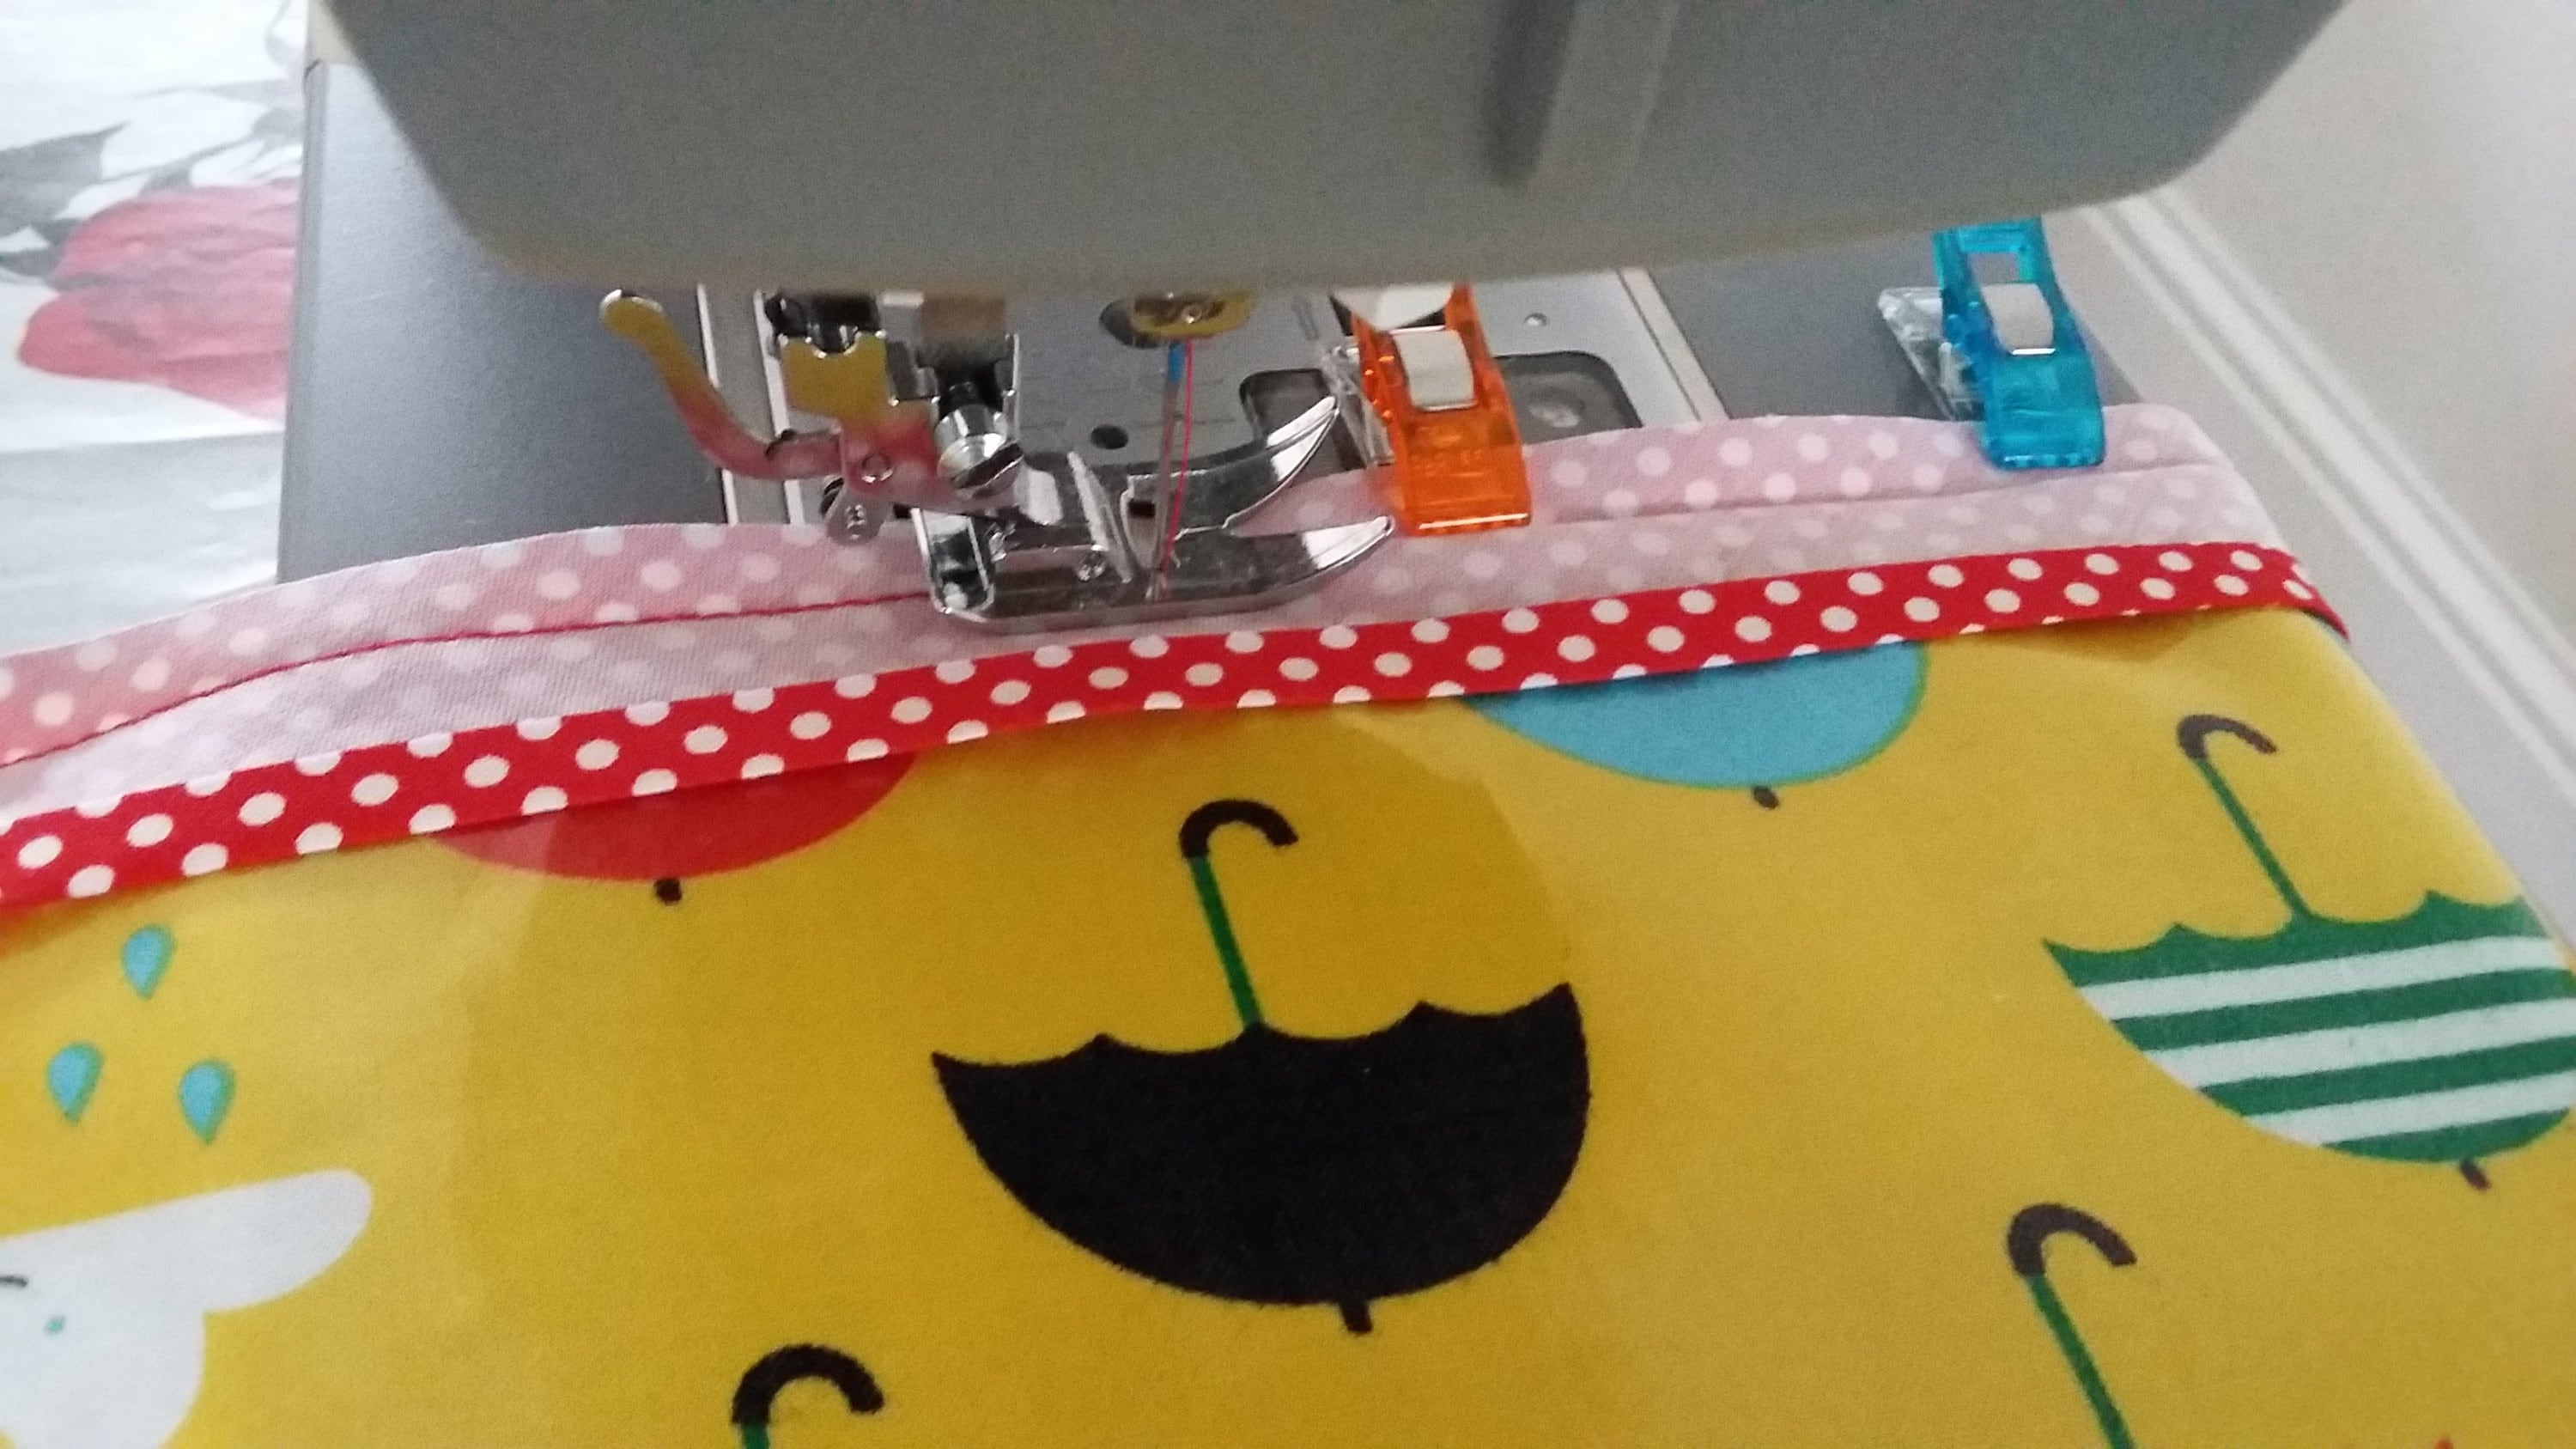
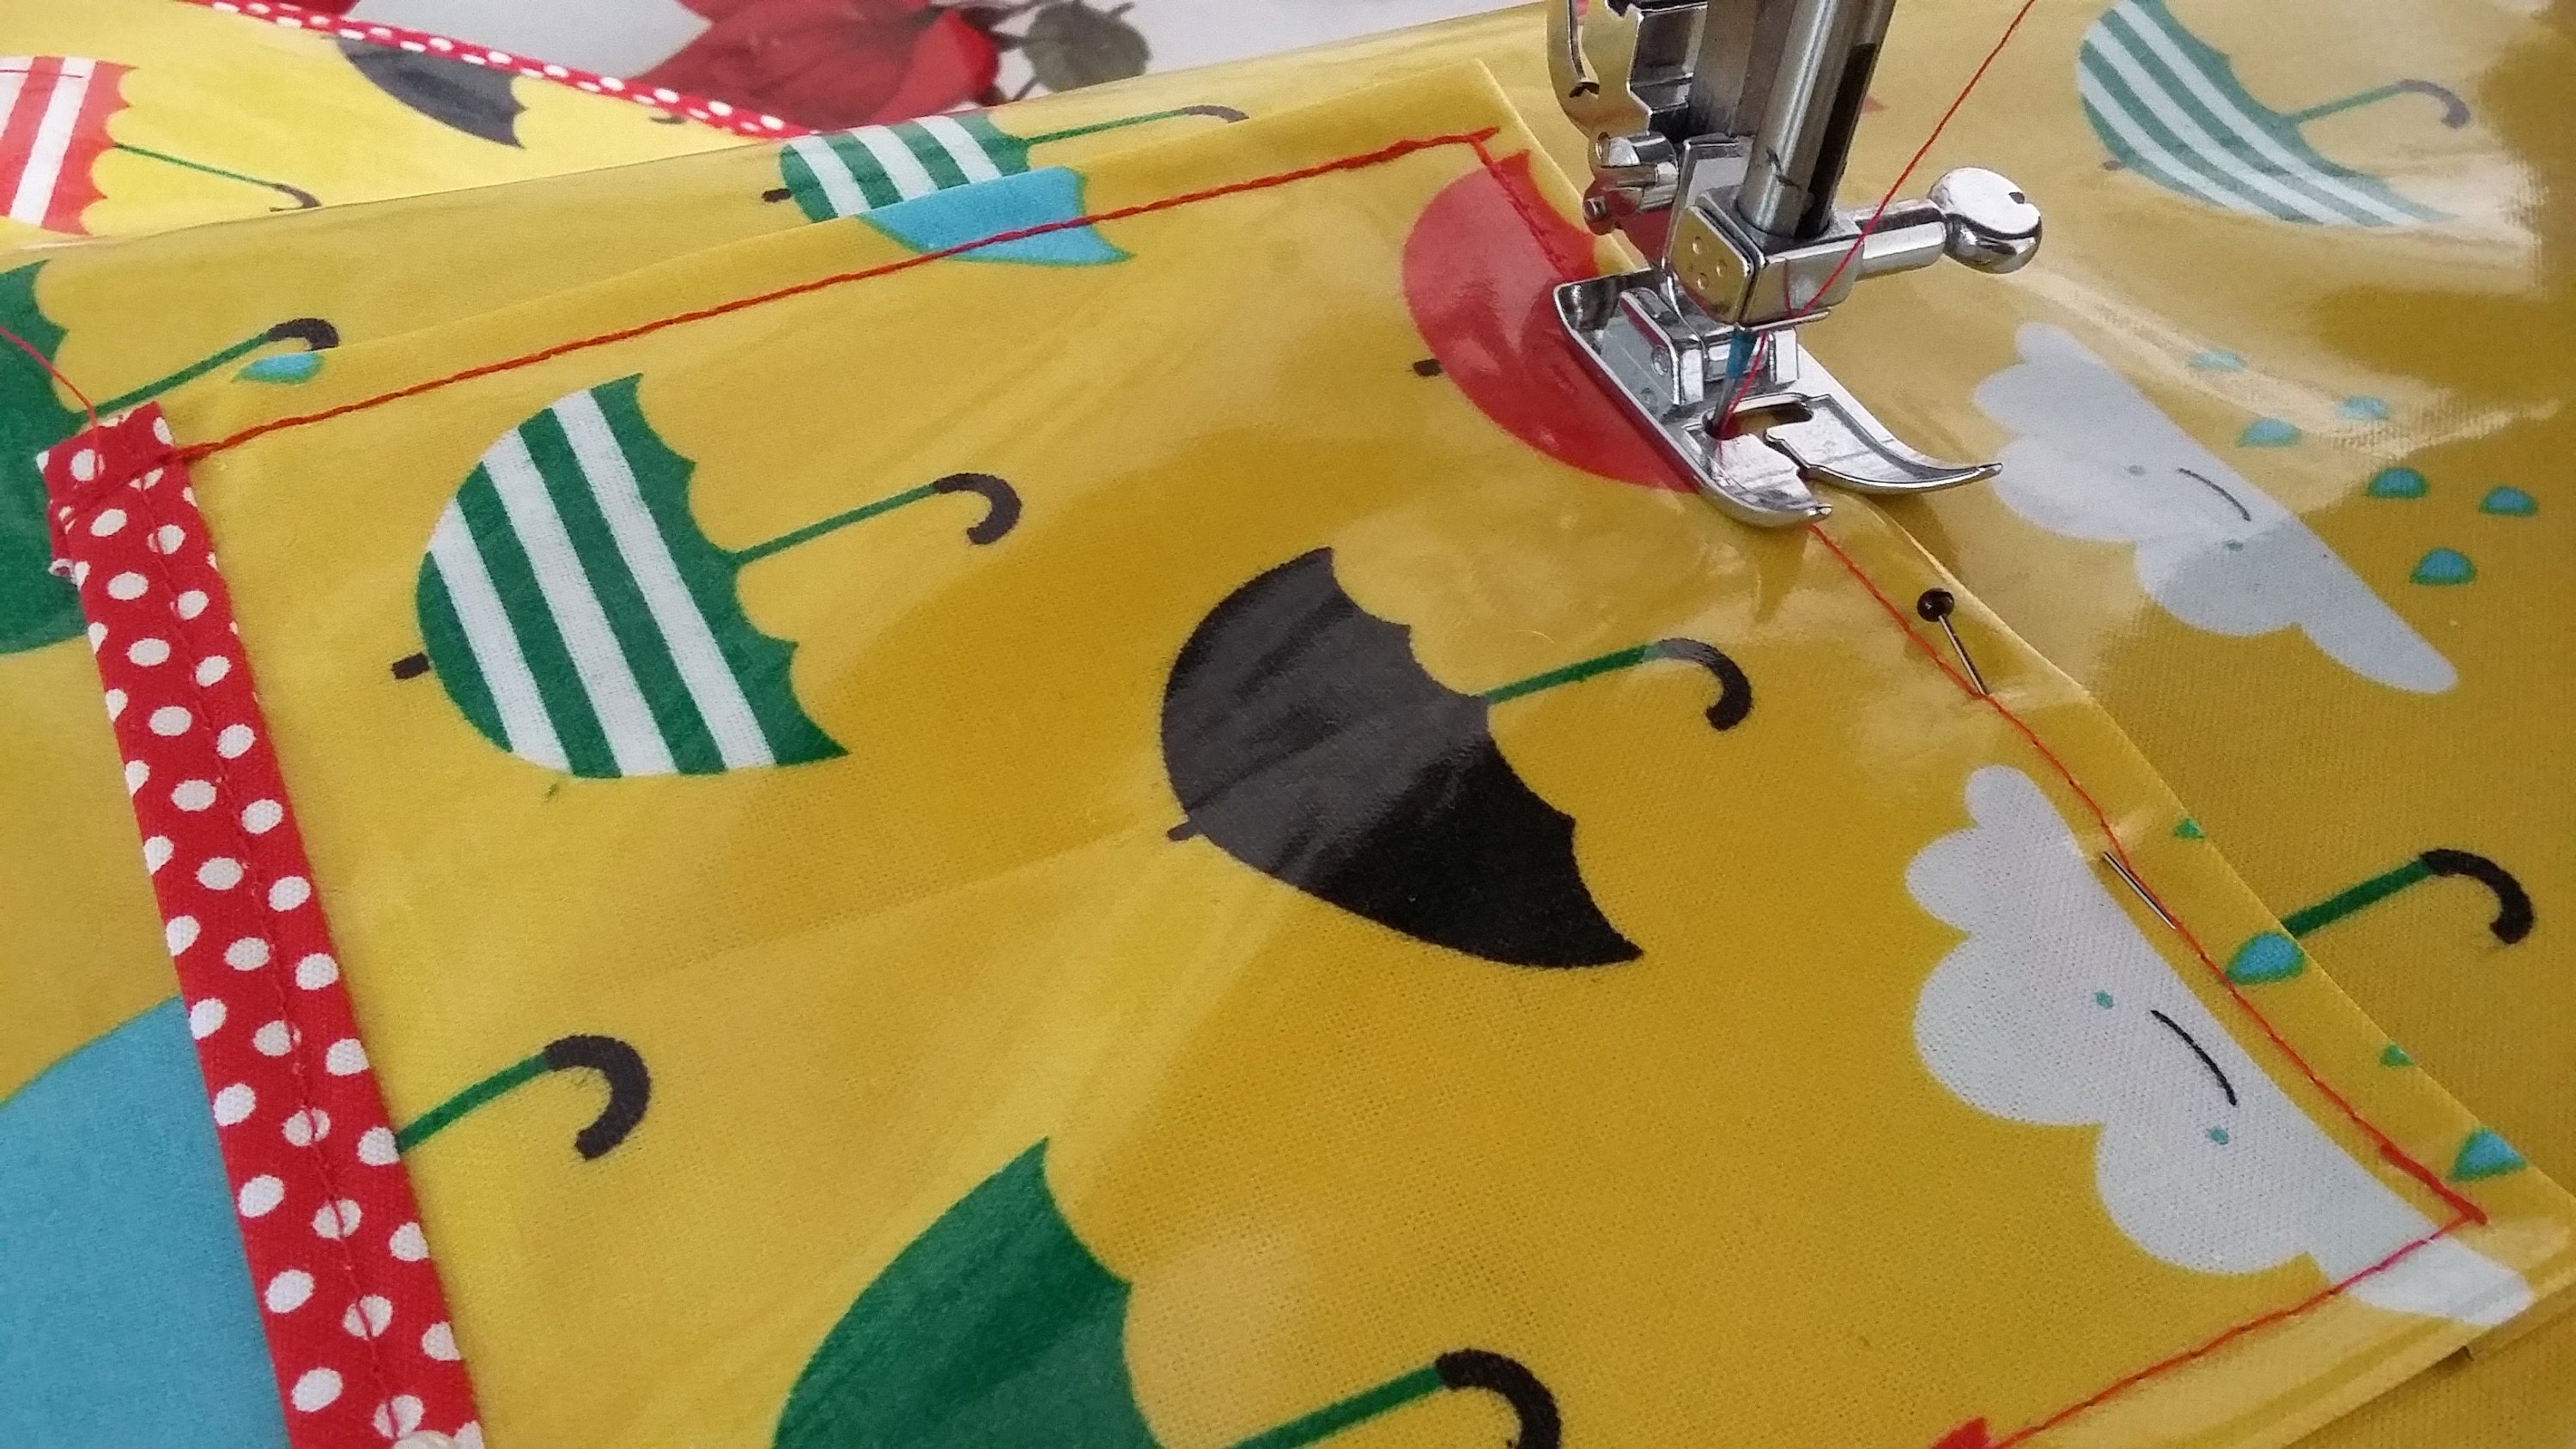
Fold the binding over to the wrong side (WS) of the apron and pin in place. Sew at 0.15 inch to secure the binding in place taking care when you reach the corners.
Tuck the tails in at the end to cover raw edges and stitch in place. Next you add the ties. Sew and backstitch two ties approximately 1" in at the top of the apron. Sew and backstitch the other two ties on either side at the corner points.
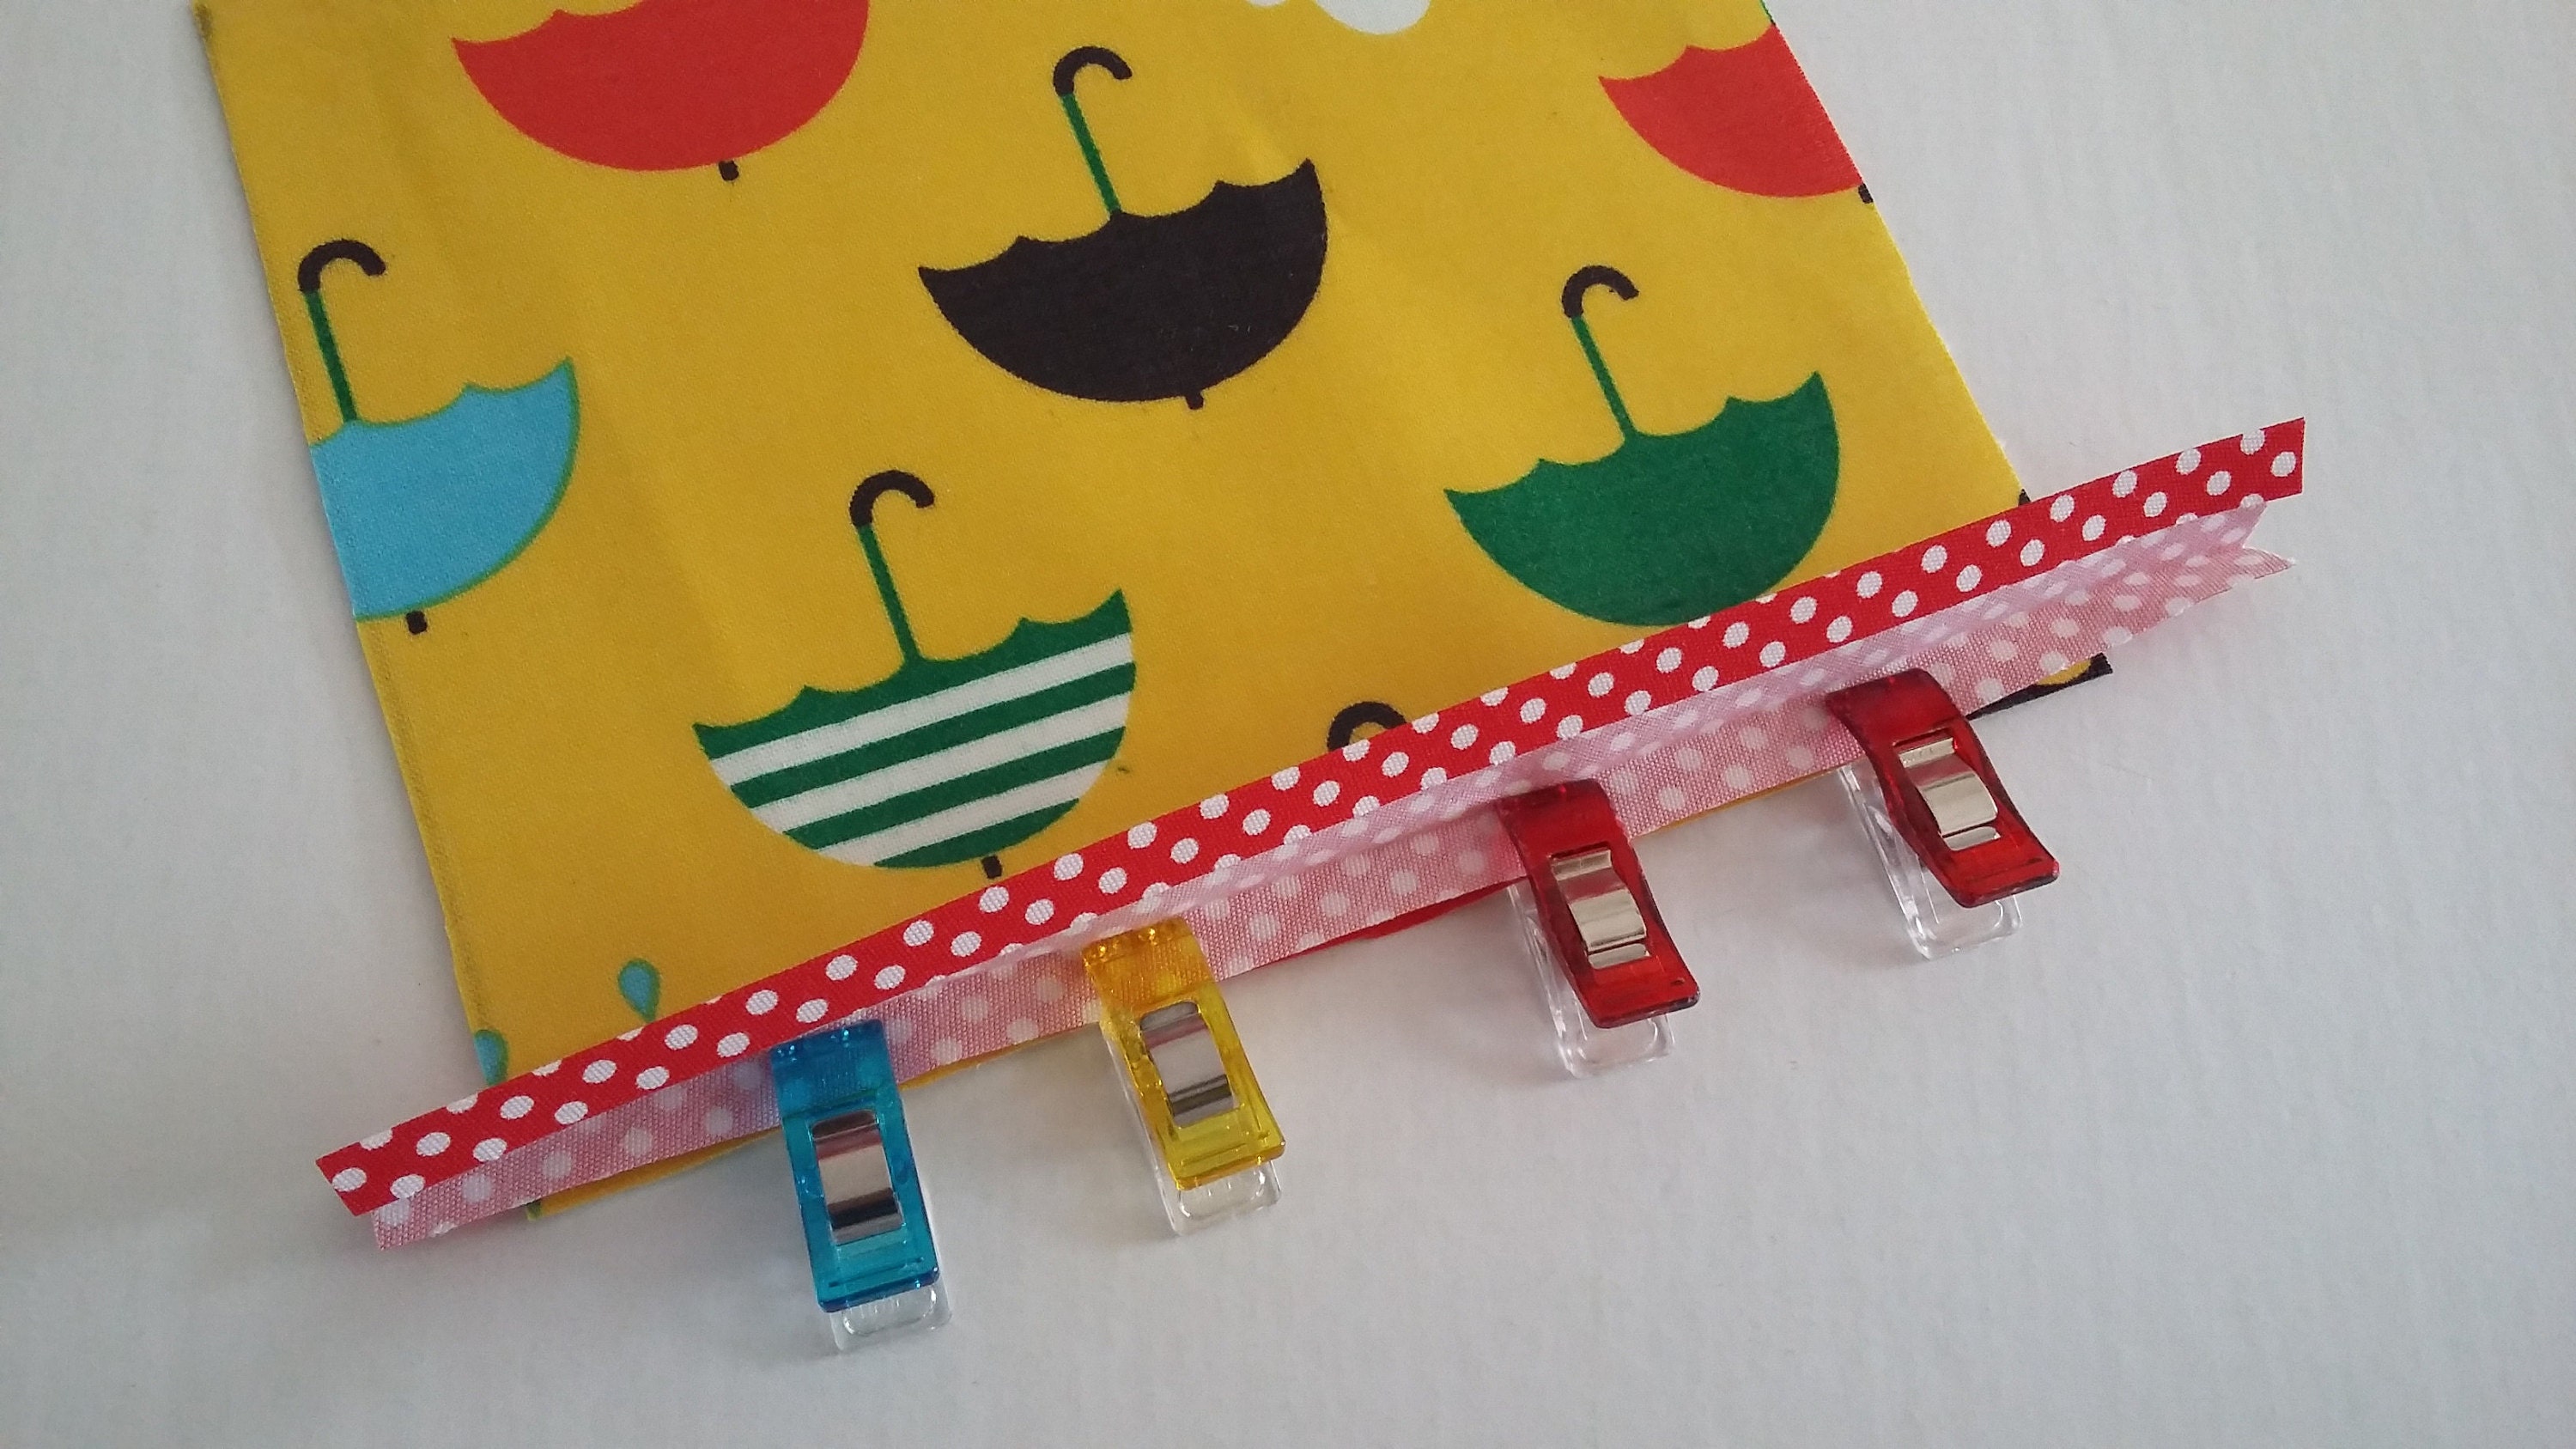
Optional pocket piece: Pin and sew a strip of bias binding to the top of the pocket piece as you did with the apron body.
Tuck and finger press the three other raw edges in by 0.5 inch and secure with a few pins. Set your machine to a longer stitch length and sew the three edges of the pocket.

Pin your pocket piece wherever you like to the apron body.

Stitch over the existing stitching and be sure to backstitch at the tops of the pocket.
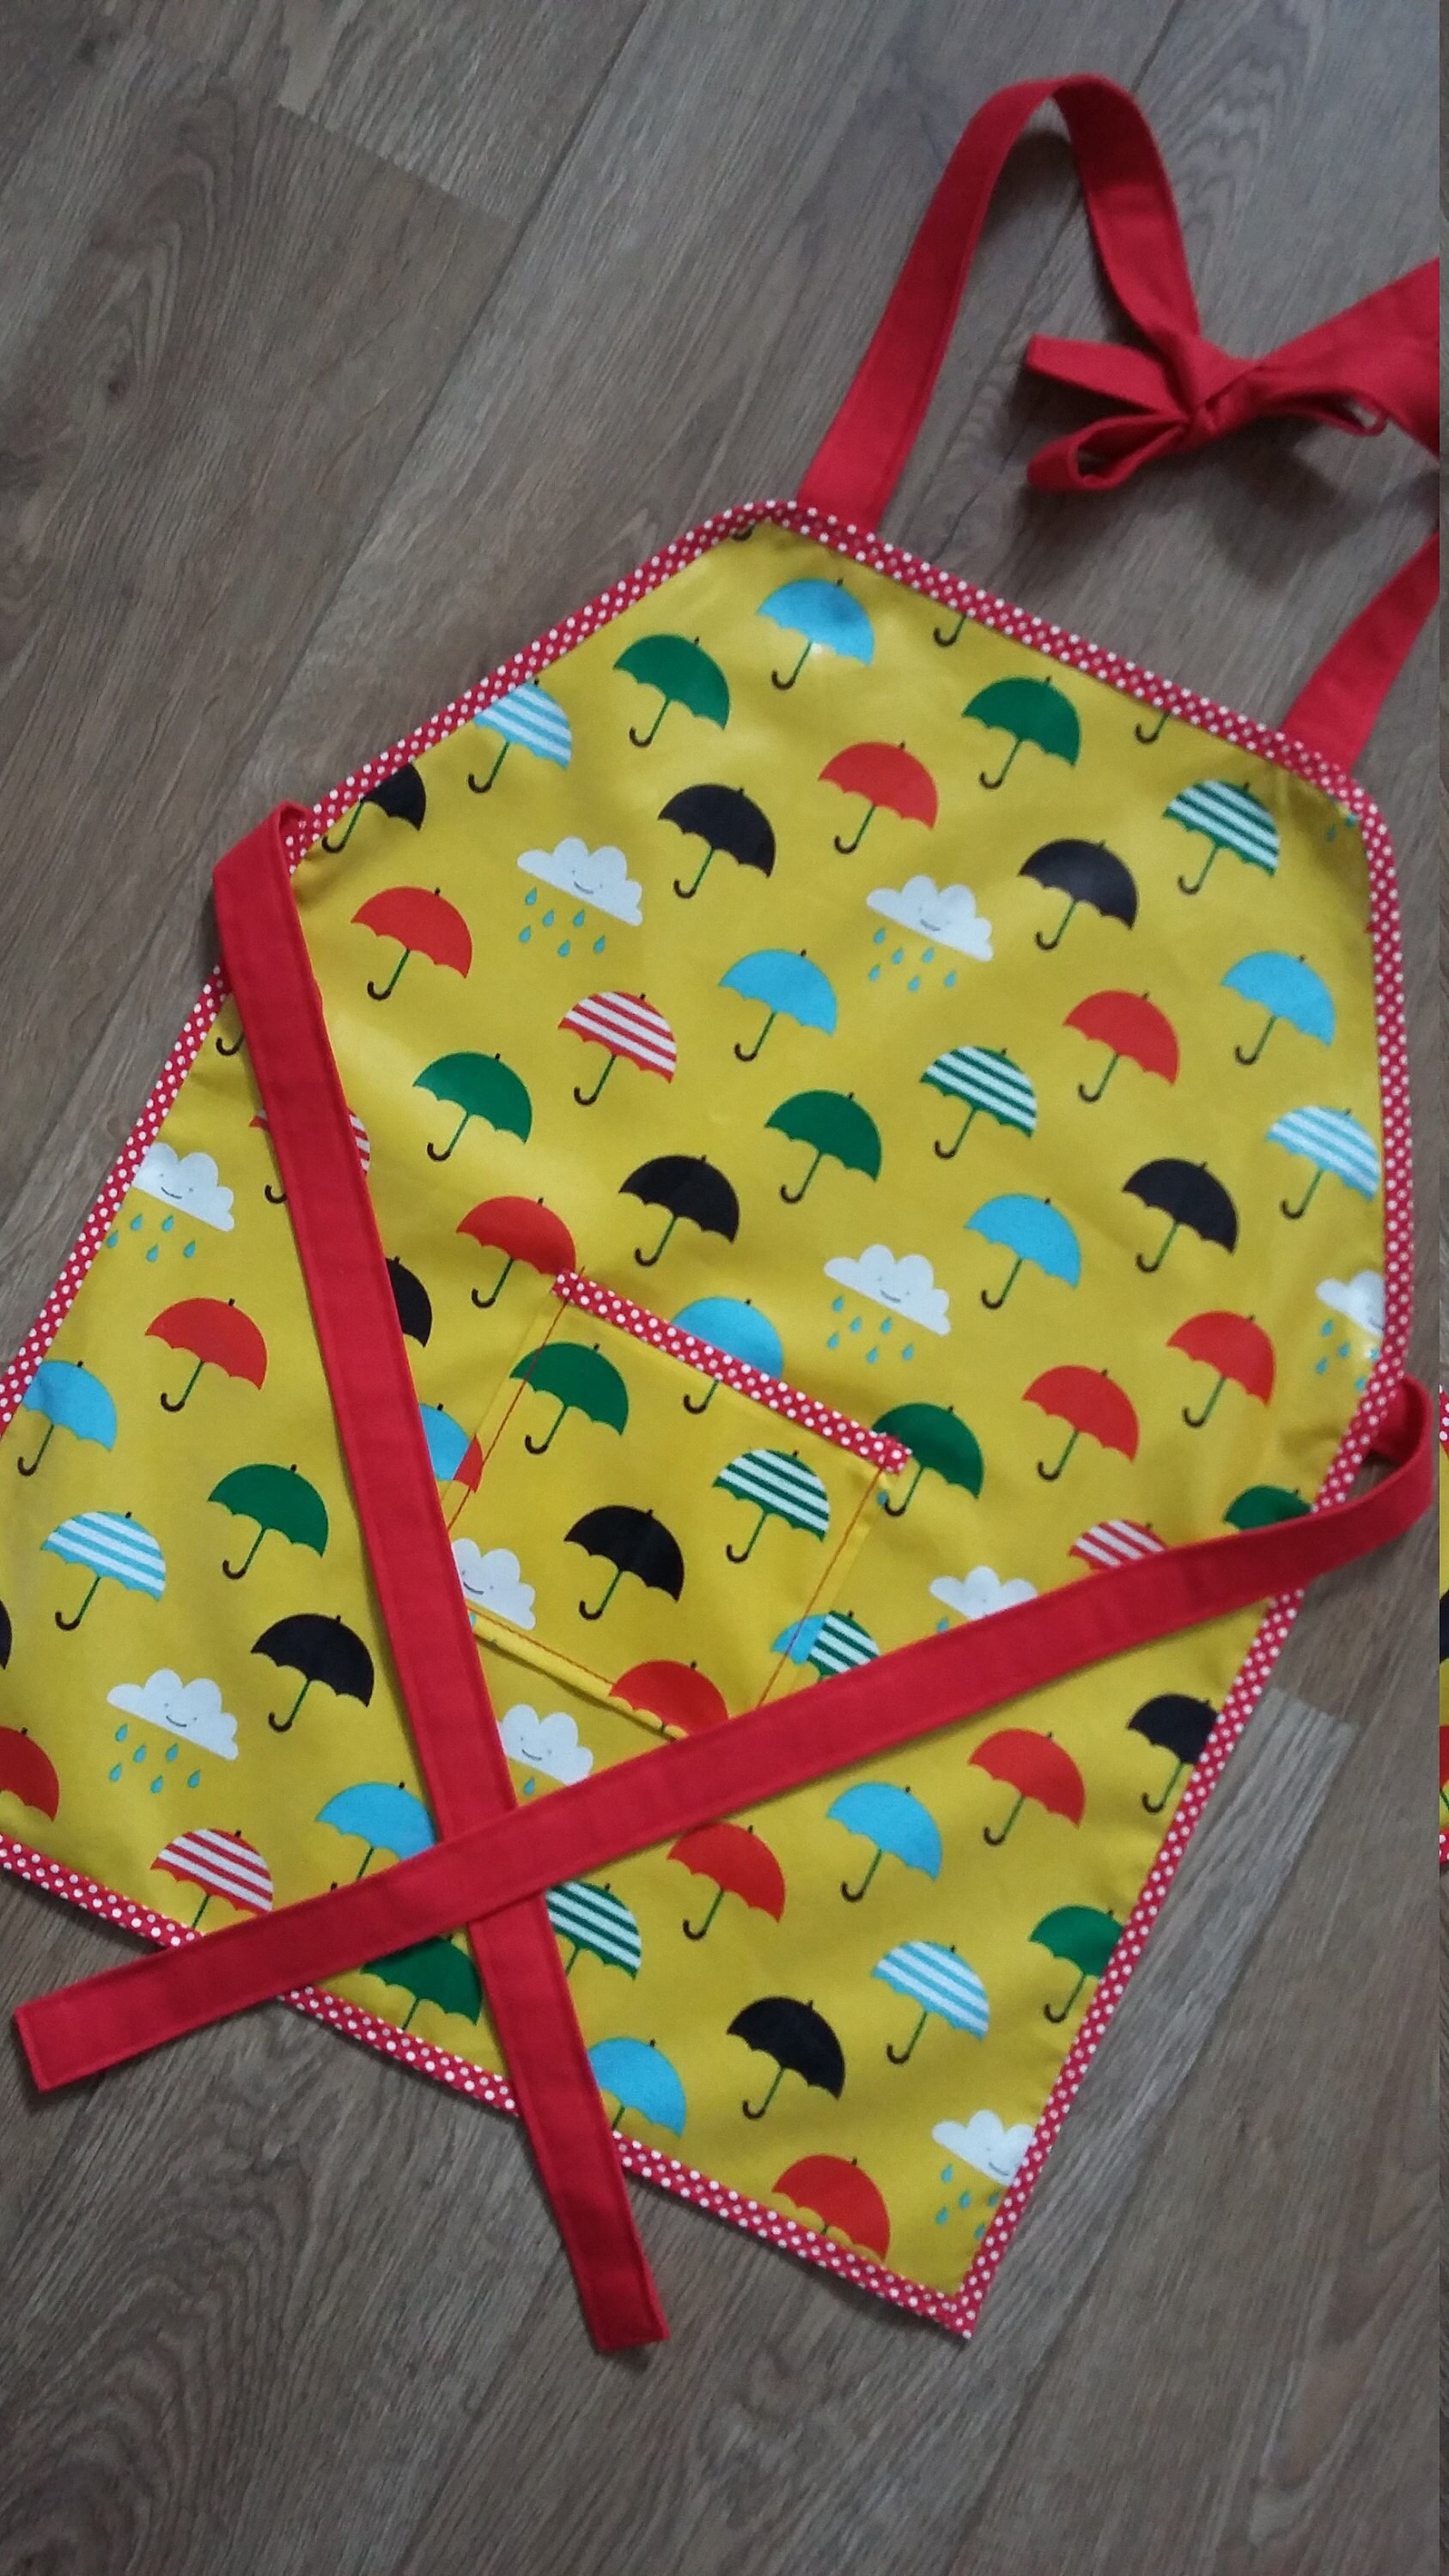
Ta Da! You've finished your apron......stand back and admire!